In fact I made 3 Onsies for my little grandson in almost no time at all.
Let me show you how easy it is...

I am using Silhouette Design Studio but you can also use Cricut Design Space as well

1. Open up the Dino Birthday card
2. Ungroup and delete the words and all the card pieces

3. Fill all the pieces you are going to use with color

4. Layer the pieces (you may have to arrange some of them so they are front to back)
5. Select all the pieces and group together.
6. resize if needed.
7. Turn off the line color
8. Create an offset of .125"
9. Mirror the image- I forgot to do it on the dinosaur and it was ok but if you have any words make sure you do it!
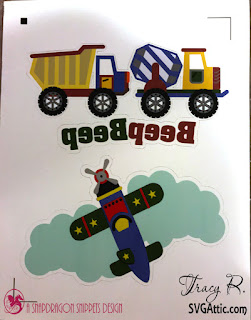
(I missed takeing pictures of the next couple of steps with the dinosaur but I will show you with this one
10. Turn on your Registration marks
11. Print to the front side of Fabric Transfer
*Do not use the Tshirt Transfer Setting on your printer if you have it- it will flip the image and your registration marks will not line up.
12. Cut by using Advance > Cut by line Color and selecting only the red (outline)
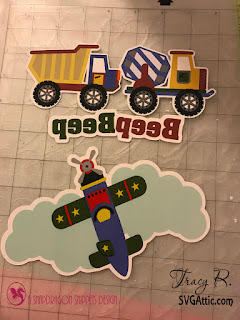
13. Weed out the negative spaces
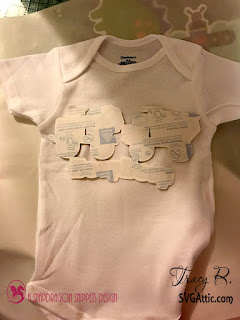
14. Prep the shirt by pressing it for a few seconds to warm up.
15. Place the Transfer Material
face down on the tshirt
16. Follow directions on the back of the package, use an iron or a heat press to apply the transfer
17. When it has cooled down remove the paper backing.
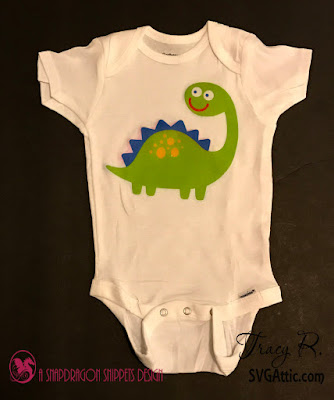
Now you have a fun shirt to share with someone special (or make one for yourself)
Here is an up close look of the two Onsies I did.
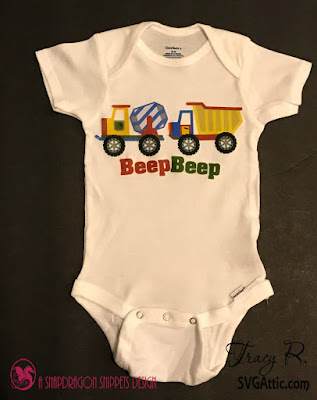
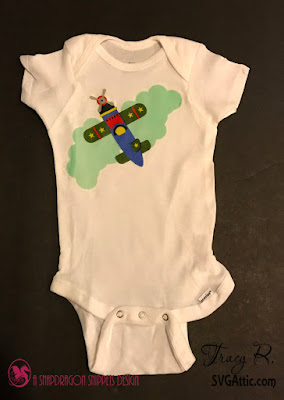
use the cards from the
JGW Work Zone

and the
SDS Ready For Take Off

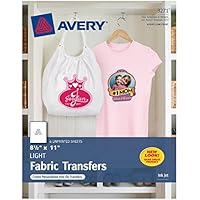
and Fabric Transfers
I hope you will give this a try, but fair warning...Its addicting!


