Pages

Friday, August 31, 2018

Autumn and Halloween Diamond Cards


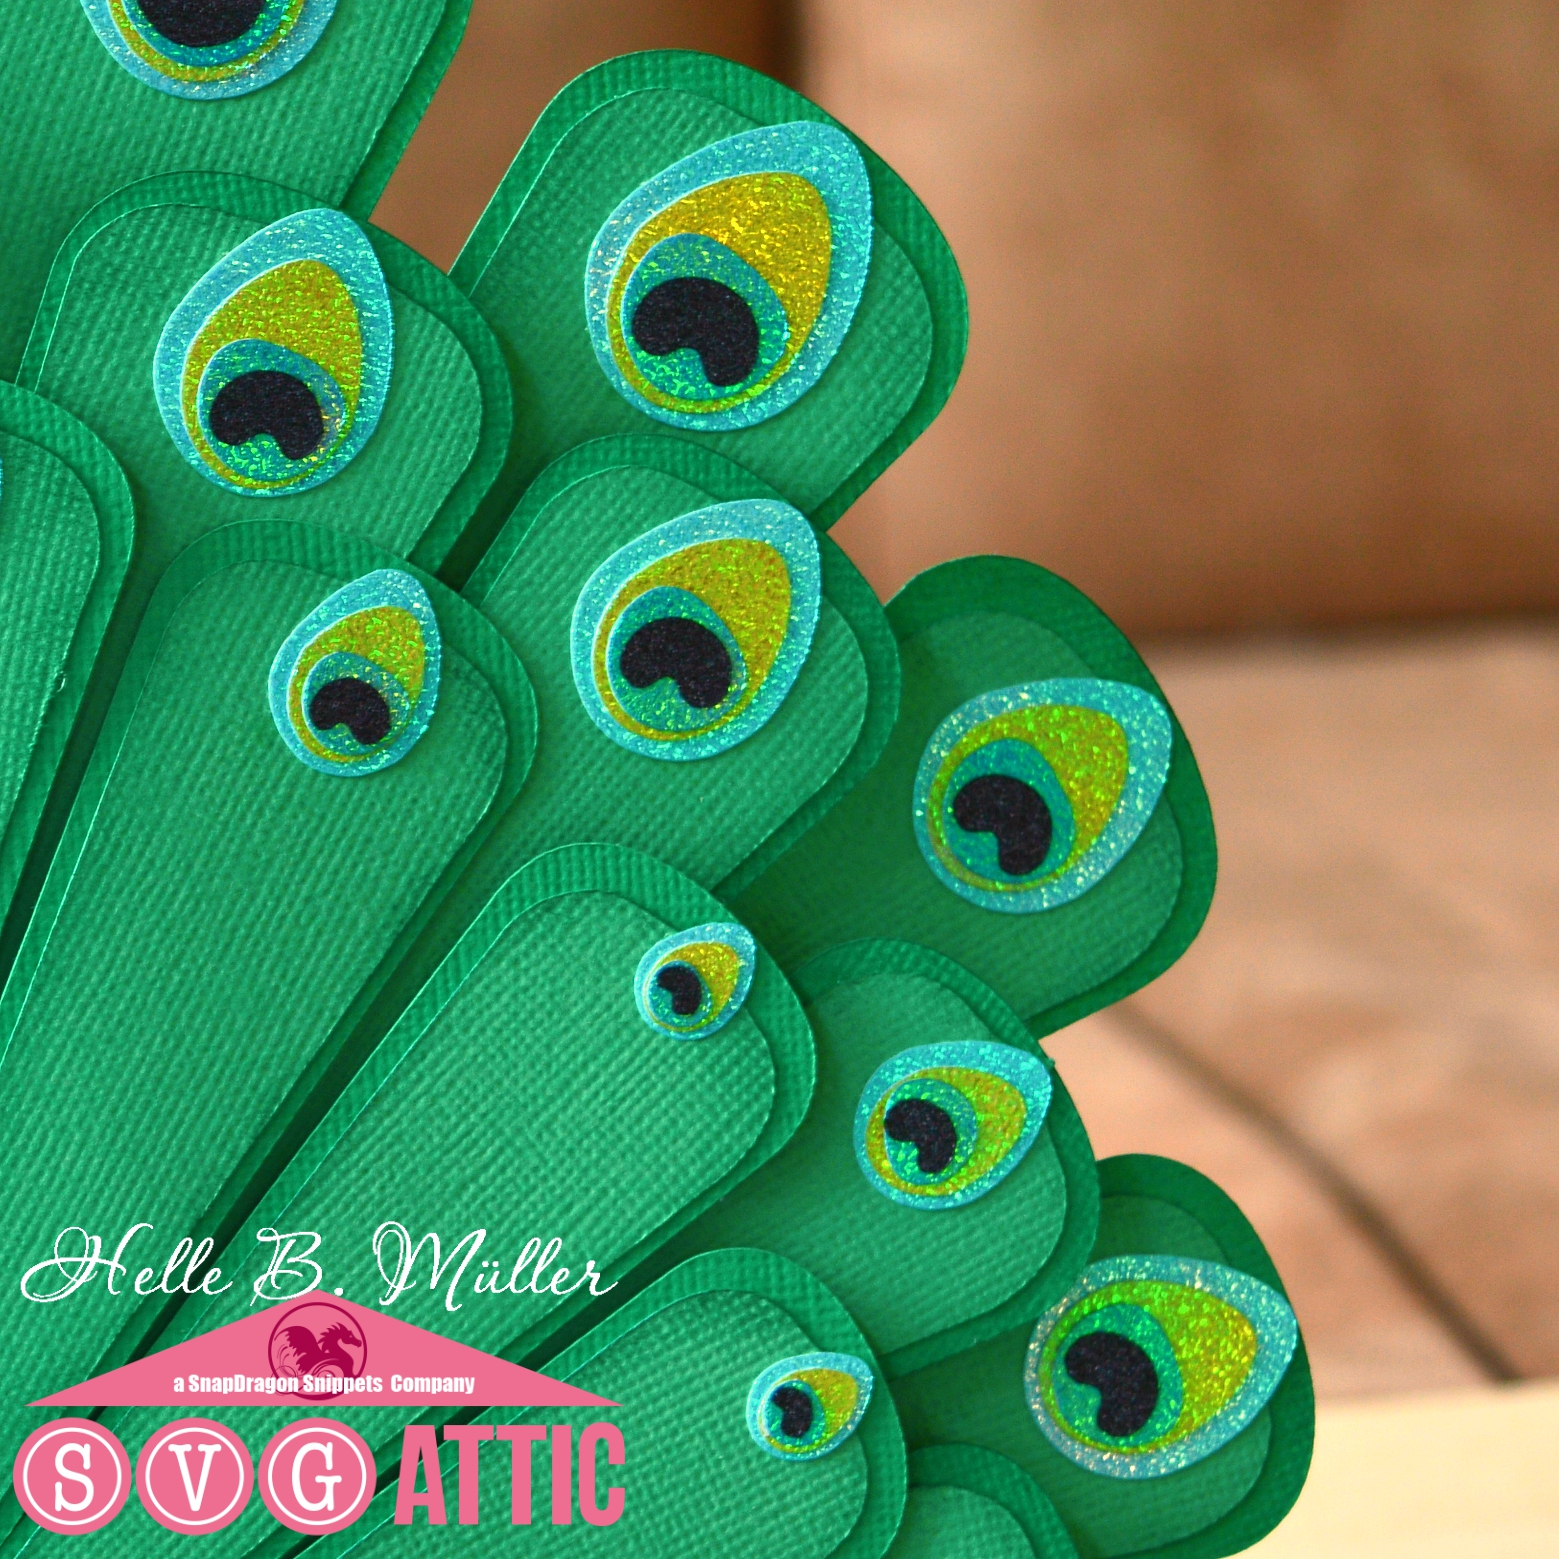
Hi and welcome back everyone. Lisa here from The Relativity of Paper sharing a few cards I created using the Double Diamond Card from the JGW Welcome to Booville Collection.  This card is unique in shape and I really enjoy using it. Last year I created a Pirate themed card that would be perfect for a party invitation using this same card base, you can see it here


The envelope for this card is so easy to customize. I love that I'm able to use matching paper on it. 

Here are the cards I created, one for Autumn and one for Halloween. 


Here you see the diamond shape that makes this card so much fun. The paper and die-cut pieces are from Pebbles Midnight Haunting Collection. You can head over to my blog for all the product details. 

Using my Silhouette Cameo I cut out the Double Diamond Card base using Cardstock Warehouse Oatmeal Kraft paper, cut the accent pieces using 6 x 6 patterned papers from the Pebbles Midnight Haunting Collection, added black ribbon and enamel dots to dress the cards up a bit. I stamped the word Autumn using Versafine Onyx Black Ink. The matching envelopes were cut using the same Cardstock Warehouse Oatmeal Kraft paper and Pebbles Midnight Haunting papers. Card and envelope bases were assembled using quick dry adhesive. Embellishments were added using 3D mounting foam. Enamel dots are self-adhesive but I add a dot of quick dry adhesive. 


As always, thanks for joining us! 


Wednesday, August 29, 2018

Fall Birdhouse


Tracy here, sharing my latest project.
 Fall is on its way and for this project I combined two files to create a Fall Birdhouse.

The house is made using the Birdhouse 3D Gable Box.

The large house measures almost 8" tall and is pretty sturdy. It is such a fun project all on its own. 
But...


I wanted to add some sunflowers to the front of the house so I used the flowers from 

This was such a fun little project, be sure to check out all of the SVG Files available at 
Thank you for joining me today.


Monday, August 27, 2018

Impossible Floral Card with Beth

Hello everyone!  Beth from Beth's Beauties here today with this "impossible" card.  This style of card has been pretty popular lately and Jodi created this SVG so it is so simple to create one!  The file is called Flower Urn Bouquet Impossible Card.  The tutorial for it can be found HERE.
The papers I used on it are from DCWV's Peri & Peach stack along with some scraps of solid colored cardstock.  I inked around the flowers lightly with tan chalk ink.  The daisies and heart were popped up with foam tape.  Other adhesives used include ATG and Scotch tacky glue.  I embellished the heart with a bow of Cotton Candy Trendy Twine.  I haven't decided what occasion to use this card for yet, but when I do, I will stamp on the white panel.
I hope you have a wonderfully crafty day!

New to SVG Attic? Check out these awesome places!

Sunday, August 26, 2018

Oh Baby

Hello - Taking over the blog today with a little post. Seems to be a baby boom going on. This is the second baby project in a row for me.
This time I made the cute Baby Peeking Cascade A7 Card from the Oh Baby Kity

This darling card is made from AC Cardstock in White, Marine, Wave, Sky, Blush, Black, Sunflower, Mint and Clay along with patterned paper from Primas  Baby Boy Collection.
All edges are inked with Distress ink and the clothes line, is a piece of twine. The two small clothes pins and the two small dots on the sentiment, I found in my huge stash.


It is to be used as a Baptism Card, so I changed the wording on the tag to say "Congratulations" in Danish.
I just love everything about this cutesy cascade card. That baby face is just to die for!
Thanks for joining me today - I really love your visits and please leave a comment below to let me know how you like my card.

New to SVG Attic? Check out these awesome places!


Friday, August 24, 2018

Snowflake Ornament ~ with Cyndy G

Good morning crafters.  Today I have a fun little ornament using the Snowflake Stick Ornament that can be found in the JGW Snowflake Stars from SVG Attic.  I reduced the size of this ornament to a 4" circle.  Everything cut out perfectly at this size however I did decide not to use the "sticks" on this one.  I did cut them out but I just decided not to use them.

Snowflake ornament


snowflake ornament

I used some of my Doodlebug paper and a few of their cut files for the center of my snowflakes.  At this small size it was easier to cut files that had just a few pieces, so I used pieces of candy.  I used Watermelon Taffy Trendy Bakers Twine from Annie's Paper Boutique, my personal favorite.


snowflake ornament

These little ornament look so yummy.  I love the bright colors.  Thank you for stopping by today.

snowflake ornament

New to SVG Attic?  Check out these awesome places!


Do what inspires you,
Cyndy G

Wednesday, August 22, 2018

Welcome baby Autumn!

Hello all! Sonja with Sugar Bean Cards here with a special announcement and post from our SVG Attic Inspiration Team.
We have welcomed a new member to the team! Beth, our fearless leader and administrator, has welcomed her baby girl, Autumn, a bit earlier than planned. She wasn't due to be here for a few more days, but she made her entrance with shock and pizzazz five weeks early. To welcome Autumn a few of our I-team members have put together projects to share with you.

Just click on each members name and it will take you to their blog!

Thank you for looking at our welcoming cards, gifts, and banners for Beth and her family. A huge congratulations to them! 

Sunday, August 19, 2018

Pretentious Turkey


Happy Sunday and welcome back - so great of you to visit!

Scrolling through files, in order to find projects that I haven't made or have saved for later, I found the cute 3D Turkey from the  JGW Turkey Trot kit.


I always thought he looked so cute and a bit …. hmmmmm….. shall we say less intelligent (after all he is a Turkey) but I also saw something else…..and it was NOT a Turkey.

Well I saw a Peacock and that was what I wanted to turn him into….a Pretentions Turkey. Not surprising that I saw that, because Peacock and Turkey are kinda relatet - both belong to the order of Phasianidae - Pheasant birds.

Anyways - I made the body like the Turkey only to switch out the head ornament with that of a Peacock that I made from a Dandelion file from The Silhouette Design Store (Unfortunently the file is discontinued) and left out the Wattle.

Then I made the tail - very simple. I took the tail part and the panels and sized it up two times for the next two layers and cut them into singles - then I added them behind the first tail.

Well enough talk - here he is......the Pretentious Turkey:


And a side view to see the pretail too:


The Peacock feather pattern I added to the feathers is also a Silhouette Design Store File - Design ID #78856. It's a set but I just used the first upright feather. 


So in order to make this pretentions bird, I used AC Cardstock in Emerald, Shamrock, Marine, White, Black, Chestnut and Shadow along with shimmery paper in Blue, Light Blue, Green, Yellow and pearl paper in black. For the side wings I used some patterned paper from DCWV from a Texture Pad to make them look like those pheasant-kind wings that the Peacock has.

The tail did get a bit heavy due to the use of many feathers but I compensated by adding some heavy glass stones into the little box underneath the bird.

So how do you like him now? Please let me know in a small comment below and enjoy the rest of your Sunday....and have a wonderful new week too.

New to SVG Attic? Check out these awesome places!


Friday, August 17, 2018

Hello Fall!


Happy Friday! Lisa here from The Relativity of Paper sharing a few "framed" Fall pictures. I'm determined to use my new paper this year and this just worked! I have to confess that when I started this project I had BIG plans to embellish them to the nines but then something happened. I stood back and looked at them. No matter what I did I could not bring myself to pile the embellies on. 


I'm telling you, this project is super simple, the frames have a nice size to create a fun grouping for any occasion or holiday. I used this last year for Halloween and paired it with the Witch Hat 3D Bow Rocker Card, super cute. You can find it here


Here you can see the dimensions. Best part all you need is a thumbtack to hang them. If you want to set them on a table or shelf I would recommend a small paperweight behind them. 


To create this project you need JGW Marquees found in the Snapdragon Snippets Online Store and your favorite Fall-themed patterned paper. Don't have patterned paper, no worries. Use solid cardstock with a few Fall-themed cut files from the online store to create your own take on this project. Either way, give it a try. 

As always, thanks for joining us! 

Wednesday, August 15, 2018

Baby Bottle Card


Tracy from the Idea Closet and today's post is in honor of our new little granddaughter, who was born  last week.

My daughter loves to read and I thought it would be nice to give her a Kindle Gift Card, because she will probably have lots of time to read while she is staying up late and rocking the new little one.

I wanted a handmade card to give her but didn't have much time.

I LOVE  the trio cards because they are easy to make and there is lots you can  add to them  as well.

The file I used for this card is the Baby Bottle Trio card from SVG Attic.


I think the little bottles are so adorable.
I used a light blue cardstock for the bottle shape, grey for the "milk" and then cut velum for the bottle top piece. 
To finish each bottle, tie a little twine around the neck just under the lid.


For the inside of the card I used a gift card holder that I had in my library from another project.

I am very excite to share this card with my daughter, but even more excited to hold our new little girl.

If you haven't tried one of the trio cards yet, give it a try; I promise you are going to love them.

Thank you for stopping in today
If you are looking for some inspiration try these sites. 


Friday, August 10, 2018

Winds in the east, there’s a mist coming in... ~ with Cyndy G

Good morning crafty friends today I am sharing a very fun project with files from SVG Attic and inspired by the adorable Umbrella 3D Hanging Ornament.  I used several different files to make this:


Mary Poppins accessories - Black umbrella with parrot handle, black pill hat with flowers and carpet bag

I am very pleased with how everything turned out!  To get the accessories to the right size I layed the pieces out on my mat with the handle to the umbrella and shrunk them until I felt the size looked right.  The bag is 3.25" wide and the hat is about 2.5" wide.

Mary Poppins accessories - Black umbrella with parrot handle, black pill hat with flowers and carpet bag

The handle of the umbrella is made using the head of the eagle and the hat is the Leprechaun hat with the top gently pushed in and covered with "trash" piece from the rim.  I had to cut part of the handle off so the parrot (eagle) head didn't have to be too big to cover it.  I also wanted my bag to close so I carefully folded the sides in and glued the bag shut.  I hope you have enjoyed my project today, I really enjoyed bringing this vision to life.

New to SVG Attic?  Check out these awesome places!


Do what inspires you,
Cyndy G

Wednesday, August 8, 2018

Sunflower Box with a Twist

Hello all! Sonja with Sugar Bean Cards here with my latest project. August means sunflowers around here, well peaches too, but I wanted to focus on sunflowers this round. 

My inspiration for this sunflower box comes from some sunflower fields we have about 45 minutes from our house. Seeing a field filled with rows upon rows of yellow vibrant flowers and a summer sunset can't get any better! 
Image result for sunflower fields deer park washington
Photo courtesy of The Spokesman-Review

I started with one sheet of Pineapple Bliss by Bazzill Basics Paper for the larger petals. I distressed the edges slightly with a bit of Tim Holtz Walnut Stain Distress Ink. 
Next I decided to use some copper embossing powder by Recollections to embellish the smaller petals that are cut in the Grapefruit Bliss by  Bazzill Basics Paper.
Then I started assembly after cutting out the box base from DCWV's 11" x 17" Heirloom Cardstock Premium stack. What I loved about this stack was that it is double sided so it cut down on paper needed for decorating the inside of the box.
 Then I decided to add a surprise to the inside of the box for the recipient.
 Final Project:


 Pull up on the top of the box and...
The tag and flowers are all embossed with copper to match the copper detailing on the smaller petals.

Materials Used: 

  • Paper
    • Bazzill Basics Papers
      • Pineapple Bliss
      • Grapefruit Bliss
    • DCWV 
      • 11" x 17" Heirloom Cardstock
  • Die Cut Machine
    • Silhouette Cameo 3
    • Silhouette Studio-Designer Edition
  • Adhesive
    • Aleene's Original tacky glue
  • SVG Attic/SnapDragon Snippets File
  • Extras
    • VersaMark Watermark Ink
    • Recollections Copper embossing powder
    • Tim Holtz Walnut Stain Distress Ink
FTC disclaimer: I received some of these products for free but was not compensated for writing this post. To view my complete disclaimer, click here.

Sunday, August 5, 2018

August Sunflowers

August - the last month of Summer and time for the lovely Sunflowers to follow the sun all day. Such an amazing flower a Sunflower is. Not only is it beyond beautiful but it also provides us with food. Mmmmm Sunflower seeds.

August equals Sunflowers to me and that's why I chose to make two small Sunflower projects to show you today.

The first is the Sunflower Hidden Giftcard card from the JGW Sunflower Sunshine kit:


I made it from AC Cardstock in Mustard, Apricot, Spinach and Moss along with patterned paper from Graphic 45's Time to Flourish Collection.

I embossed the leaf with a embossing folder from Cuttlebug, inked all the edges with distress ink and tied a small Graphic 45 tag onto the giftcard part of the card.....


…. because you can pull out the hidden tray for the giftcard.

I also made the Sunflower card into a Shaker card by making some rings and gluing them under the top flower along with a piece of acetate. The shaker glitter is among other from Nuvo and Finnabair.

To go with this cute card, I made a small gift box - the Sunflower 3D Hex Box with Bee


This darling little starshaped box, is made from AC Cardstock in Cranberry, Mustard, Chestnut and Apricot and decorated with patterned paper also from the Graphic 45 Time to Flourish Collection.

Instead of making the original flower center, I chose to make a chunky glitter center by gluing all kinds of glitter and tiny glass pearls onto a thick coat of glue. Sorry the picture doesn't do it enough justice because it's really beautiful.

Here are the two projects together:


Thank you for joining me today. I hope you like my two Sunflower projects - please let me know in a comment below.

New to SVG Attic? Check out these awesome places!