Pages

Showing posts with label Sizzix. Show all posts

Thursday, December 13, 2018

Christmas Truck

Hello all. Sonja with Sugar Bean Cards here with my latest project. I have been anxious to make this new 3D Classic Model Truck file. I just needed the time to make it. Well this is probably a first in the history of me being on the SVG Attic Inspiration Team for years, where I had to ask for an extension because I needed more time and didn't want to rush this.

Note, there are additions I made to this file that ARE NOT included in this file. They are personal additions so please don't expect to find it when you purchase said file!

After I cut out all my main pieces in Bazzill Cardstock's 'Robin Egg', I aged it with Tim Holtz Walnut Stain Distress Ink as well as some Teresa Collins Fiesty Red Pigment Ink.
 I decided my truck needed a seat. This is one of those additions that does not come with this file.
Even though I used a heavier cardstock, I still like to use my Teresa Collins Mega Runner by Xyron® to adhere the pieces to prevent warping.
For the smaller pieces, I used my 1.5" Sticker Maker from Xyron. 
The wood pieces I felt needed to be embossed using a We R' Memory Keepers wood grain embossing folder and my Sizzix Big Shot.
I also added the wood slats to the bed of the truck. I used a silver gel pen to color in the added 'screw holes'.
I took the same Walnut Stain ink and distressed the wood grain after embossing it. 
At this point, (the end of day 1, took me 3 days to do this much detailing) I was looking at the grill and thought you know what, I want those lights to sparkle. So I set out to customize my grill. 
At the end of day 2 I was so close, yet so far away. 
Day 3 I decided I needed to reinforce the bottom carriage with more cardstock simply because the battery pack I have in the cab was a bit too heavy for the carriage to handle.
At the end of day 3 I was running out of steam. I was going to cut a tree and wreath out in paper, but then I found these sprigs of greenery in a box downstairs. So I compromised and made what I could out of them!
Now, you cannot have a Christmas Truck without snow. And wouldn't you know that all THREE stores I went to were all out of the fake snow tex snow.
Pinterest to the rescue. I made my own fake snow with 1 1/2 cups baking soda, glitter, and 1/4 cup white hair conditioner. Glitter is optional, but not in this house. Especially with the husband standing there watching me make this. I added in more just for his benefit.

Final Project:


Yes, the lights are real light up lights. This is an addition, NOT included with this file!


 I had the best smelling snow this side of the Mississippi for sure.

 I made the trees removable so the detail of the bed can be seen.


 Even the running boards are wood engrained.

Phew now that was a task! Thank you so much for joining me today.


Materials Used: 

  • Paper:
    • Kraft brown for wood
    • Bazzill Cardstock
      • Robin Egg
      • Waxy Lips
      • Peanut Fudge
      • Fig Swirl
  • Die Cut Machine
    • Silhouette Cameo 3
    • Silhouette Studio-Designer Edition
  • Adhesive
  • SnapDragon/SVG Attic file ~Truck 3D Classic Model
    • Extras
      • Teresa Collins Fiesty Red ColorBox Pigment Ink
      • Tim Holtz Distress Ink Walnut Stain
      • Sizzix Big Shot
      • We R Memory Keeper wood embossing folder
      • AC Elements Brads


FTC disclaimer: I received some of these products for free but was not compensated for writing this post. To view my complete disclaimer, click here.


Wednesday, July 25, 2018

Christmas in July

Hello all. Sonja with Sugar Bean Cards here to share with you my version of the newest Snowman Box Card found on SnapDragon Snippets site.

I started with two sheets of Bazzill Papers Coconut Swirl cardstock to cut out all the white portions. Then I dipped into my scrap papers to cut out the rest of the shapes.
I ran the white portions through the Sizzix Big Shot with a Darice polka dot embossing folder
 Just to add a bit of texture that looks like snow.
I wanted my tree tops and roof to look like it had snow on it so I took the slicing tool in Silhouette Studios, selected the freehand option, and sliced the tops off.
Final Project: 


Materials Used: 

  • Paper
    • Bazzill Papers
      • Milkshake
      • Coconut Swirl
  • Die Cut Machine
    • Silhouette Cameo 3
    • Silhouette Studio-Designer Edition
  • Adhesive
    • Aleene's Original tacky glue
  • SVG Attic/SnapDragon Snippets File
  • Extras
    • Sizzix Big Shot
    • Darice Embossing Folder
FTC disclaimer: I received some of these products for free but was not compensated for writing this post. To view my complete disclaimer, click here.

Wednesday, April 18, 2018

Castle Tower turned into...


FTC disclaimer: I received some of these products for free but was not compensated for writing this post. To view my complete disclaimer, click here.

Hello all. I-team member Sonja here with my newest inspiration. While thinking about my next project, a certain vision popped into my mind. I got on SnapDragon Snippets website to see if I could find what I wanted to do. After not finding it, I remembered that I have had the Castle Tower 3D Box file in my library for a year and haven't used it.
Original file 

With a few modifications to the top of it, I was able to make my vision happen. It took me about 2 full days to design and execute it all. Mainly because I kept changing my mind about the roof.

Tower portion: 


Rot Iron Fence: 
Just a few skinny rectangles, circles, and a pentagon for the fence topper was all it took to make the fence. I welded six fences to a hexagon with a smaller hexagon in the middle to accommodate the top tower room to allow a light in it.
Original Top Piece

Modified piece
Roof:
Keeping with the hexagon theme of the tower, I decided to do a hexagon shaped roof. I couldn't find any in my library so I set out to weld a six triangles together and play around with it until I got what I envisioned. 
 Final roof shape after welding and shaping
For the tower portion itself, I wanted to float in some slight color. The best way for this was with a gray sharpie and the Craftwell eBrush. I used Bazzill cardstock for this project because it's a really sturdy product and I didn't have to double up on walls or anything to hold its shape. 

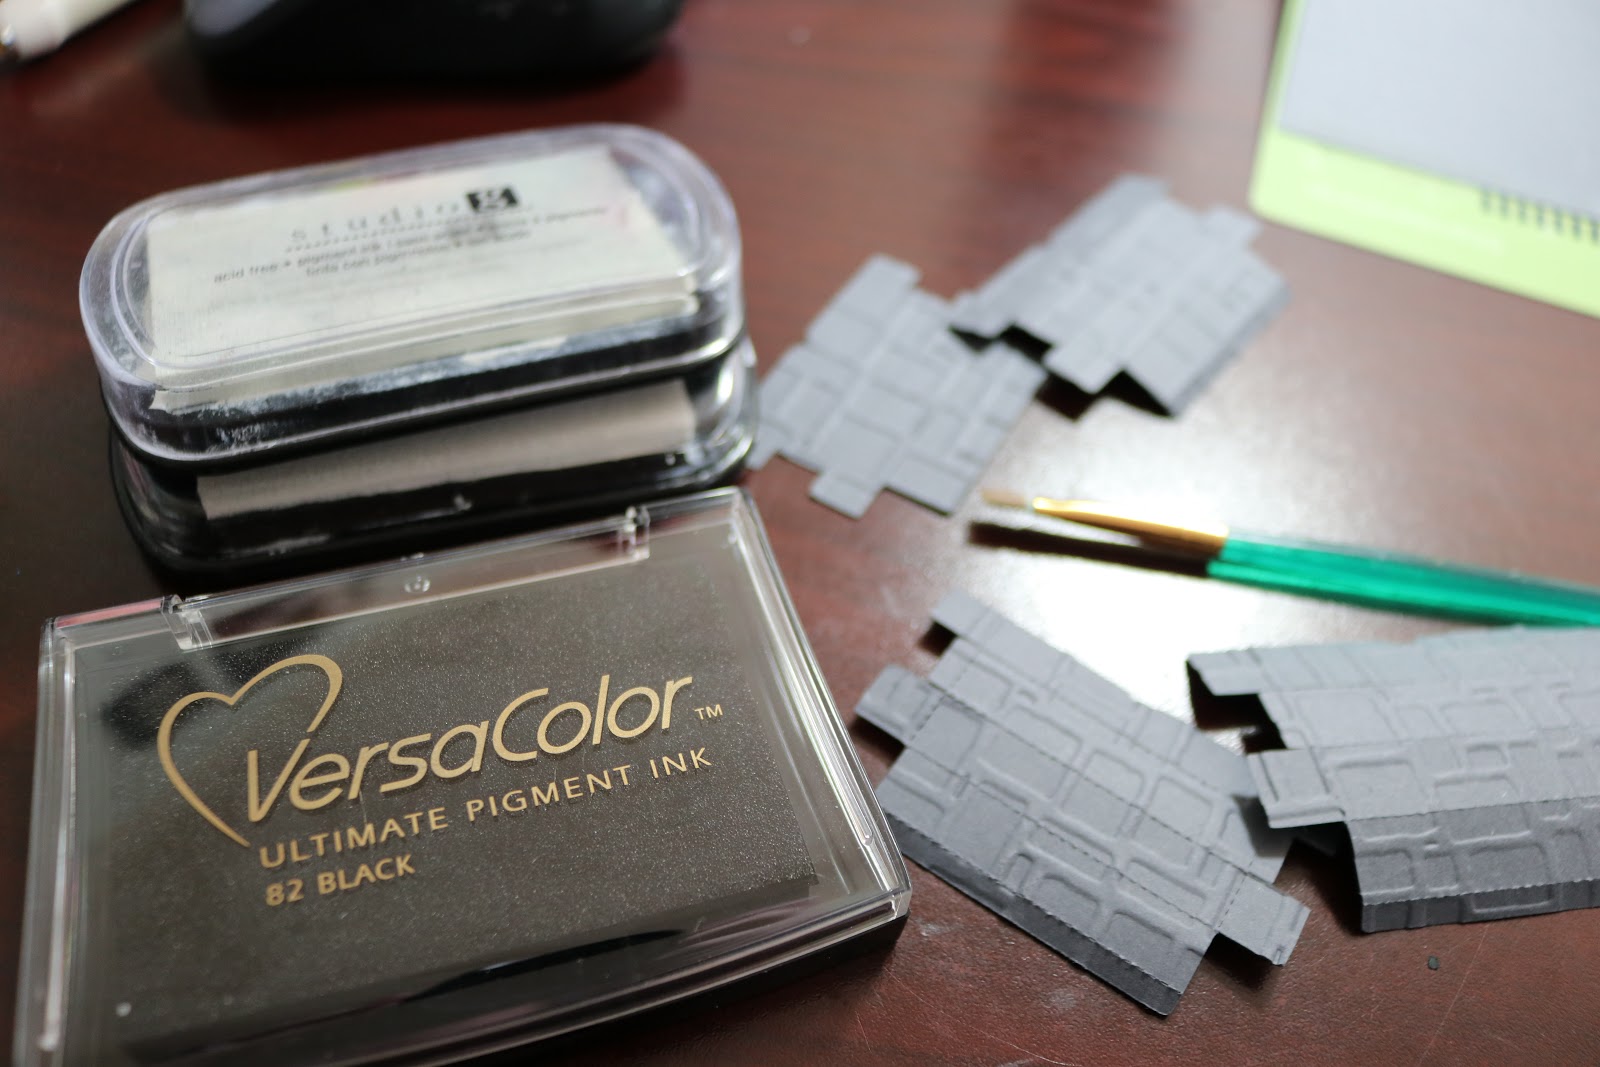
After floating in a bit of color detail, I ran the tower walls, base, and steps I created through my Sizzix Big Shot with a Darice brick embossing folder

 Next, for the tower top I wanted to have the clear plastic just for extra detail. The best way I have found to adhere the plastic to paper is by using my Xyron Creative Station Lite® . 

For the steps, I simply took some rectangle boxes I had in my library, downsized them to what I needed, ran them through my Big Shot for the embossing, and dry brushed some ink on them to make the steps look aged.

Final Product: 
 Turn the light on...

These little lanterns are from the SVG Winter Wishes set. The lantern is much much larger than these little tykes. They are about the size of the tip of a pencil on this lighthouse.


I intentionally did not adhere the top to the tower so I had easy access to the tea light.


Products Used: 
FTC disclaimer: I received some of these products for free but was not compensated for writing this post. To view my complete disclaimer, click here.