Pages

Wednesday, March 14, 2018

St. Patrick's Day Gift Box


 St.Patrick's day is one of those over looked holidays but I think its a great time to show a little love to those special people in your life.

Tracy from the Idea Closet and for today's project at SVG Attic I made a little treat box using a valentine file,  Heart Ribbon Tied Candy Box, in combination with one of the St. Patrick's Ornaments, Kiss Me.


I resized both files to get a perfect fit. Then cut out the heart box with some pretty green cardstock.


I love all of the Ornaments...I think I have bought every set.
It make the perfect little tag.

Fill the box with some green kisses and tie it all closed with twine.
  
All the files can be found at Snap Dragon Snippets, SVG Attics, sister site. 
You still have time to make some little gifts to share this week.


Monday, March 12, 2018

Winter Fun Layout

Happy Monday!!! Tanya from Crafting on Caffeine here. I wanted to show you a layout using files that were intended for something totally different. I love how files are so versatile like that.


The following is a list of snowflakes I use for this layout:
You can find all at SnapDragon Snippets


I used DCWV Paper Pack for the snowflakes and background.


I used BoBunny Paper Pack for the title.


Other items I couldn't do without to put this together
ATG Gun
Xyron X
Lawn Fawn glue pen

Hope you enjoyed! Check back again soon for another new post!

Friday, March 9, 2018

Masquerade Box ~ with Cyndy G

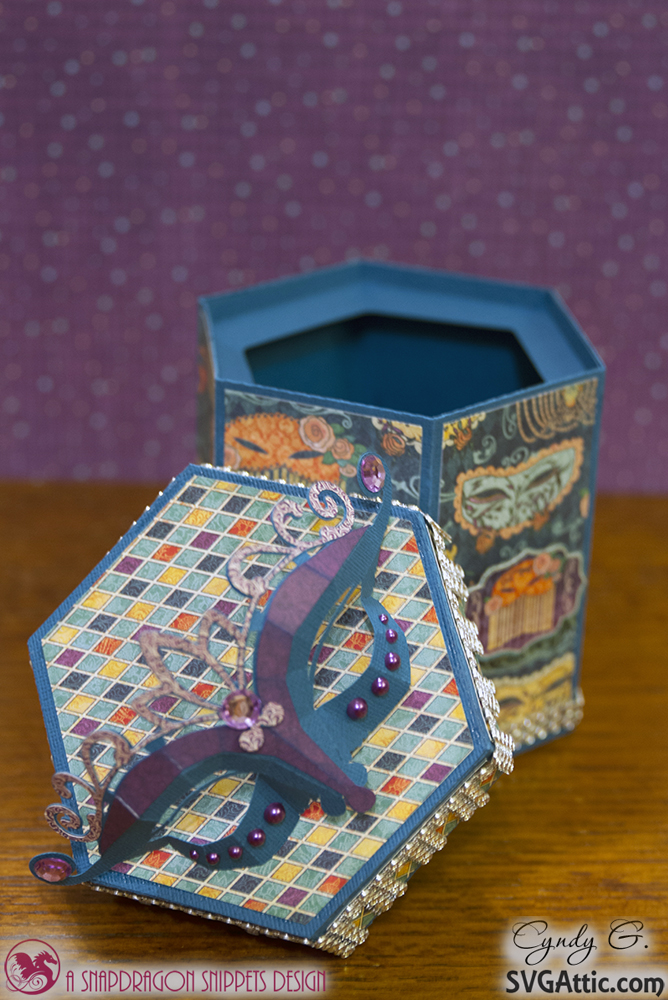
Hello today I am sharing with you a beautiful box I made using files from SVG Attic/Snapdragon Snippets.  I used Hex Box with Lid and Masquerade Decorated 3d Mask.  I just love how it turned out.

Hexagon box with masquerade mask on top

I used Graphic 45 Midnight Masquerade Collection.  The colors are so rich and vibrant.
I shrunk the size of the mask so that it would fit on the top of the box.

Hexagon box with mask on top - box opened

I added jewels and pearls to the mask and some crystal ribbon around the top of the lid. 

Close up of mask

Thank you for stopping by.

New to SVG Attic?  Check out these awesome places!


Do what inspires you,
Cyndy G

Wednesday, March 7, 2018

St. Patty's Treat Boxes with Beth

Good Wednesday Morning!  Beth from Beth's Beauties here today with these fun St. Patty's treats!
I started with the SnapDragon Snippets Pot O Gold Candy Wrap svg file and used DCWV's Garden Charm and Adhesive Mat stacks to create it.  I filled a small zip top bag with chocolates and adhered it inside the wrap to show through the front.  The finishing touch was a bow of yellow ribbon.
I then created two Gold Coin Boxes using The Paper Studio's Watercolor Daydream double sided paper.  For the top decorative layer, I inked it with Wild Honey Distress Oxide ink and splattered it with water for an oxidized look.  I assembled these boxes with Scotch Tacky glue.
I hope you have a wonderfully crafty day!

New to SVG Attic? Check out these awesome places!

Monday, March 5, 2018

Luck & Love for St. Patrick's Day

FTC disclaimer: I received some of these products for free but was not compensated for writing this post. To view my complete disclaimer, click here

St. Patrick's Day is among us! Hello all, I-team member Sonja here with my latest post. Looking at the calendar, I decided to put some of my St. Patrick's day stamps to use. I received a bunch for free a few years back and this is my first time pulling one out. I know shame on me! 

After picking out the two files I wanted to do from SnapDragon Snippets website, I decided the perfect paper to go with these files would be some bright colors from Bazzill Papers. 

 For the card, I used (1) Juicy Pear, (1) Easter Grass, and (1) Flintstone
After cutting the shoe shape out with the Silhouette Cameo 3, I grabbed my Craftwell eBrush to float in some color.

Next I wanted some texture on my shoe so I ran it through my Sizzix Big Shot with a Darice swirl embossing folder.


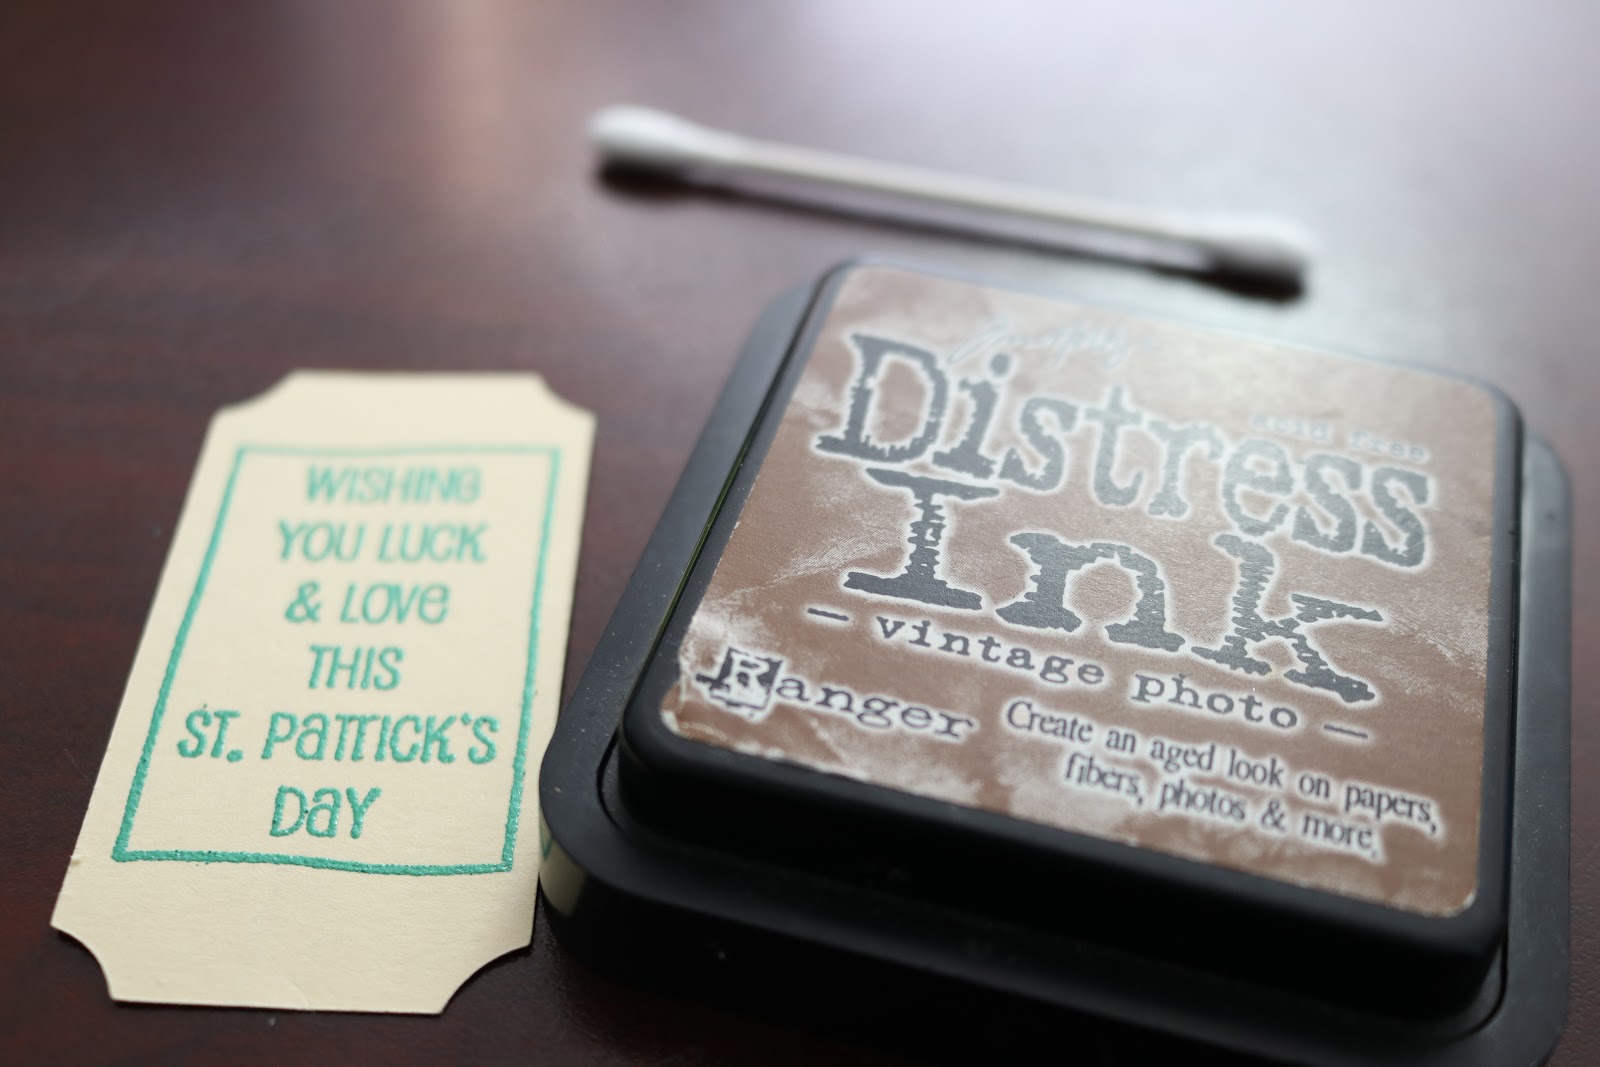
For the tag, I changed out the sentiment that comes with the file so that I could use my stamp.
Below the photo shows the difference with the embossing powder once heat is started to be applied to the stamp.
 I decided to distress the edges of the tag just to break up the blank space on it.
 Final Projects:

  At the last minute, I decided this card needed a lucky treat bag to go with it!


Materials Used: 

  • Bazzill Papers
    • (2) Juicy Pear
    • (2) Easter Grass
    • (1) Flintstone
  • DCWV Glitzy Glitter
    • (1) Gold
  • SnapDragon Snippets
  • Silhouette Cameo 3
  • Silhouette Studio-Designer Edition
  • Sizzix Big Shot
  • Darice
    • Embossing folder
    • Heat Gun
  • Craftwell eBrush
  • Sharpie Marker
  • VersaMark Ink
  • Tim Holtz Vintage Photo ink 
FTC disclaimer: I received some of these products for free but was not compensated for writing this post. To view my complete disclaimer, click here

Sunday, March 4, 2018

Hippity Hoppity Easter Time

Happy Sunday :-)
 
While snow finally covers the ground here in Denmark, there is no denying that Spring is on the way. Yes we got our portion of snow really late this year - but we got it so I'm happy.
 
We are now in the month of March and this year that means the Easter month. I guess that is why this little fella decided to move in with us - Bunny 3D Spheres Figure from SnapDragon Snippets.


He is made from AC Cardstock in Chocolate and Black along with glitter paper in Pink and Doodlebug Design paper " Easter Parade". The small jewel is from my stash and I dotted his eyes with a white Sharpie. You can find the tutorial for him here
 
He is so ready to meet all the other Easter creatures around the house and I bet there is going to be some new additions this year too.
 
Thanks for joining me today - hope your weekend is awesome and that you get a lot of spring crafting done.

New to SVG Attic? Check out these awesome places!
SnapDragon Snippets 
SVG Attic Facebook Page
SVG Attic Fanatics Facebook
SVG Attic Blog
SVG Attic Pinterest

Friday, March 2, 2018

Shine Bright with Lisa


Happy Friday, everyone! Lisa, here, and I'm taking over the blog today a few cards featuring this adorable Shamrock Light Bulb file. There are so many things you can do with this one file. It comes with two light bulbs; the one with the shamrock filament and one is just a plain light bulb. So this post started out as St. Patrick's Day cards but I decided I had to make the "Shine Bright" card. I wanted to show how you can use this for more than just St. Patrick's Day. 


For the shaker card I simply used my Silhouette Sketch Pen and cut the center of the shamrock out. I colored the image, carefully, with Zig Pens, cut acetate to adhere to back of image then added 3D mounting foam to the acetate(backside of light bulb panel), poured the gold sprinkles in, adhered to green cardstock that I attached to a 4.25" x 5.5" card base. I used my Silhouette Sketch Pen to create the sentiment and adhered with 3D mounting foam. Finishing off with three green enamel dots. 


This card was a little more work but not much and so worth it, in my opinion. I just added the sentiment by dragging it to the outline of the light bulb so that it snaps to the outline. Then I adjust the font size to fit the project. Now I did remove the outline of the bulb allowing the text to take its place. I then used a few COPIC markers to add color to the image, added googly eyes, layered it onto a green cardstock panel and then a 4.25" x 5.5" card base. 


For my last card, my favorite, I sized the plain bulb down, copy and pasted them, twisting and turning the bulbs creating a background. I die-cut the "shine" word and stamped the word bright using TH Distress Oxide Inks. Finished off with clear sequins. 
So, there you have it, three cards using one file. And I can see more cards being made in the near future. 

As always, thanks for joining us today!