Pages

Monday, October 28, 2013

Versatile Borders by Jearise


 Today I am going to go back in time and use one of the earlier sets to make a project. I used Erin's Scalloped Trims to make this bookmark. 


Erin's Scalloped Trims


I selected a scalloped border and took it into my eClips eCAL cutting program. I duplicated one of the borders and then flipped it. I made a rectangle that was 6 inches long and 2 inches wide. I placed the scalloped edges on each side of the rectangle so they overlapped and matched up on the ends. I then did a select all and union and there was my bookmark.


These Erin's Scalloped Trims are very versatile for many different crafting projects besides making a bookmark you can also use them for a border on a card or tag.

Thursday, October 24, 2013

Fall Leaf Wreath with Beth

If you are looking for Lorby's Ghost Blog Hop post click HERE.

Hello, this is Beth from Beth's Beauties and I am back with another design team project.  If you haven't seen the latest sets that Jessica has created, you are missing out!  They are gorgeous!  I combined the last two, Autumn Splendor and Winter Wishes with Thankful Captions to make this project.
From the Winter Wishes set, I made the wreath stand and the background of the wreath at the imported size.  The wreath stand is made with dark brown cardstock and has yellow and green rumpled ribbon wrapped around the base.  The background layer of the wreath was cut with kraft cardstock twice and glued together for additional support since I knew I was going to be layering on all kinds of pretties :)
The leaves and their stems were cut from the Autumn Splendor set.  The green leaves were cut at 7", the red and yellow leaves were cut at 6" and the brown and orange leaves at 5".  They are all distressed with brown chalk.
 I didn't want to cover up those beautiful leaves too much so I opted to add a banner in the center of the wreath.  I simply cut a piece of cardstock 2.75" tall by 11'' wide and rolled each end in the opposite direction.  The sentiment is from the Thankful Captions set.  It was cut at 2.25".
The embellishment on the banner was a bow of green rumpled ribbon, trendy twine and buttons that matched the leaf colors.  All of the patterned paper was from DCWV's Amber Autumn stack.

If you liked this project, head on over to SVG Attic and see what files they have!  Plus their files are 75% off for a limited time, so it is the perfect time to pick some up.  This is their newest kit, Winter Wishes.  Isn't it gorgeous?
To get this set free, add a minimum of $9.98 to your shopping cart, then add this new set to your cart and use the coupon code FREE on step two of the checkout process!

I hope you have a wonderfully crafty day!

BOO! Oh sheet! It's a ghost blog hop.

Boo! Oh didn't mean to scare you and I'm hoping you'll join us today for a blog hop hosted by Lorby's World and sponsored by us here at SVG Attic. Jearise one of our design team members is hosting the hop and you can begin at her blog if you just joined us.

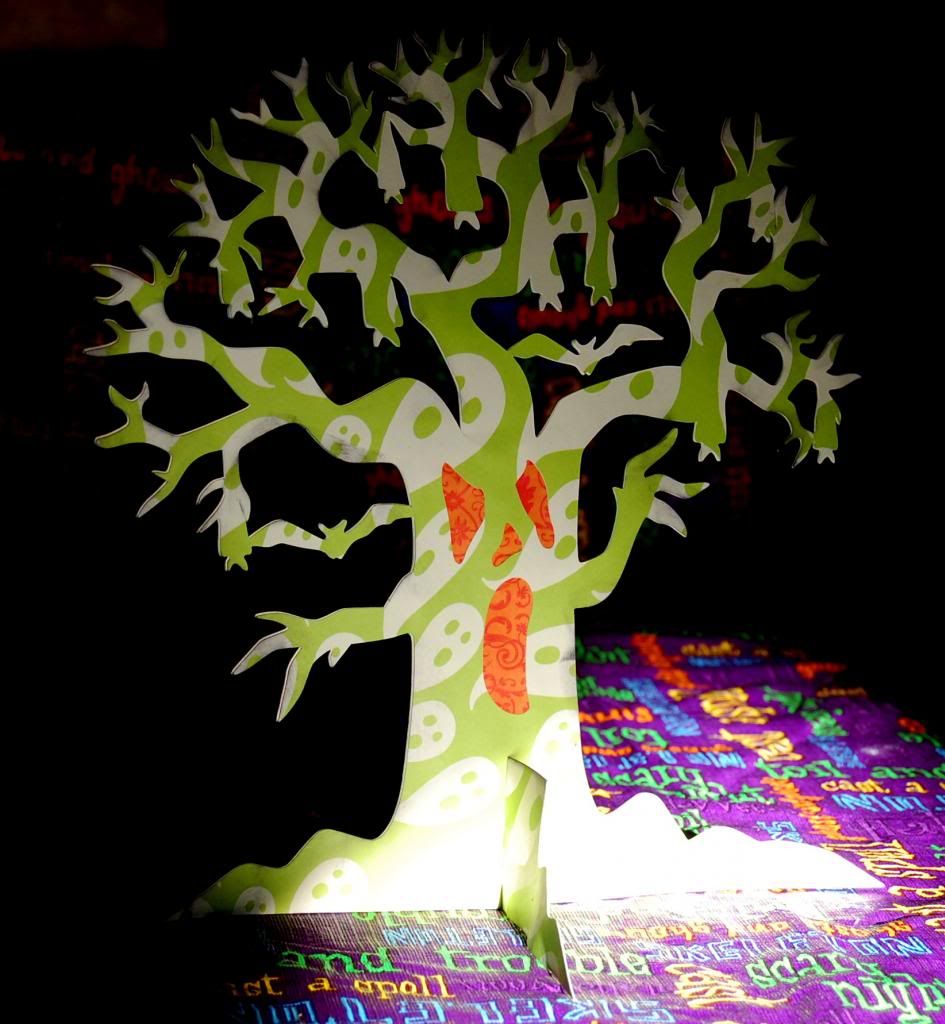
Since Jessica is home taking care of her beautiful new baby, I have stepped in to post for her for this hop. I used the haunted tree from the set Happy Haunt Halloween Party collection to create this center piece.
 Happy Haunt Halloween Party Kit
I found the ghostly paper in K & Companies last year Halloween stack and though it would be fun to give this spooky tree some color and some floating ghost to go along with his hanging bats. The Happy Haunt Halloween Party collection is one of my favorite sets but check out all the Halloween sets because there are some to die for if you get my pun.


SVG Attic is having a drawing for a $25 gift certificate to the store and there are three things to do to qualify:

1. Like us on Facebook

2. Become a follower of our blog

3. Leave a comment saying you did the above two things or let us know if you already have done them.

The fine print... There must be at least five comments (participants) before the drawing will take place.

Thank you so much for stopping by and visiting SVG Attic and seeing my project. It is time to float on to Edwina's blog.

Wednesday, October 16, 2013

Welcome Baby Carter!

The owner and designer of SVG Attic finally got to welcome her beautiful baby boy into the world yesterday. Congratulations to Jessica and baby Carter and say "congratulations" I have created this card for them using the Valentine card set - My Valentine.

I just love the elephant from this set! On the inside of my card it says: A baby is a ton of love, laughter and fun.

I think all the little animals in the set can be used for more than Valentine's Day cards. 

 My Valentine

That penguin would look "cool" on a Christmas card. Don't you agree?


Congratulations to the whole Bashaw family on their newest little member.


Monday, October 14, 2013

Baby Boy Onesie Card with Beth

Today I am sharing a card with you that I made for Jessica at SVG Attic.  She welcomed her baby Carter into this world today!  I thought I would surprise her with a baby card made with files that she created :)
The onesie and boat element are from the Baby Boy set at SVG Attic.  The patterned paper is from DCWV's Spring matstack.
I added three metal embellishments to the bottom of the onesie and faux stitching lines to mimic the look of a real one.  Plus I used tan chalk around it to create more dimension.  I also used my swiss dots folder to emboss the white background and the white circle behind the sailboat.

If you like the cuts on this project, head on over to SVG Attic and see what files they have!  Plus their files are on sale off for a limited time, so it is the perfect time to pick some up.  This is their newest kit, Winter Wishes.  Isn't it gorgeous?
To get this set free, add a minimum of $9.98 to your shopping cart, then add this new set to your cart and use the coupon code FREE on step two of the checkout process!

Friday, October 11, 2013

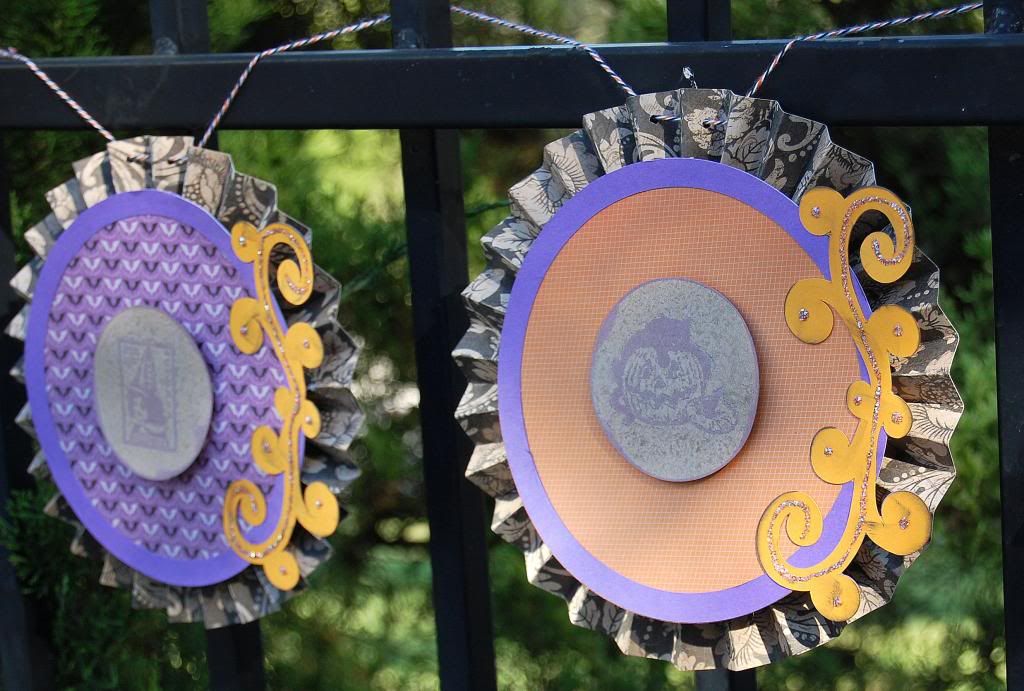
Halloween Banner by Jearise

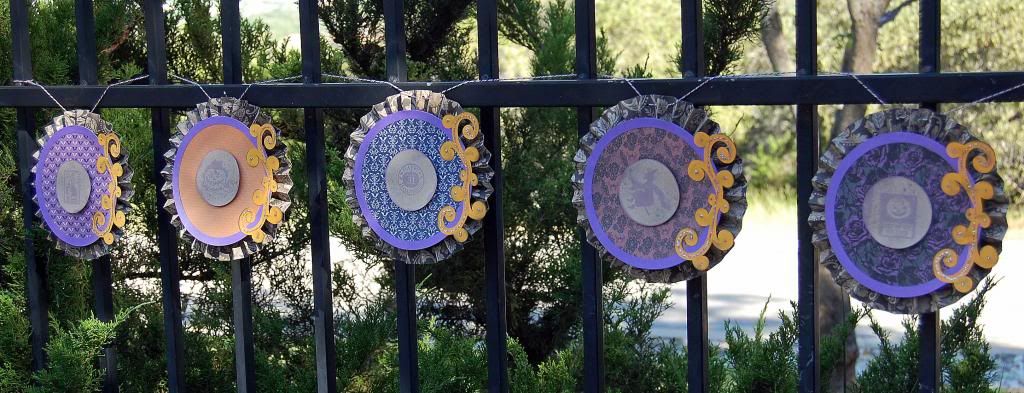
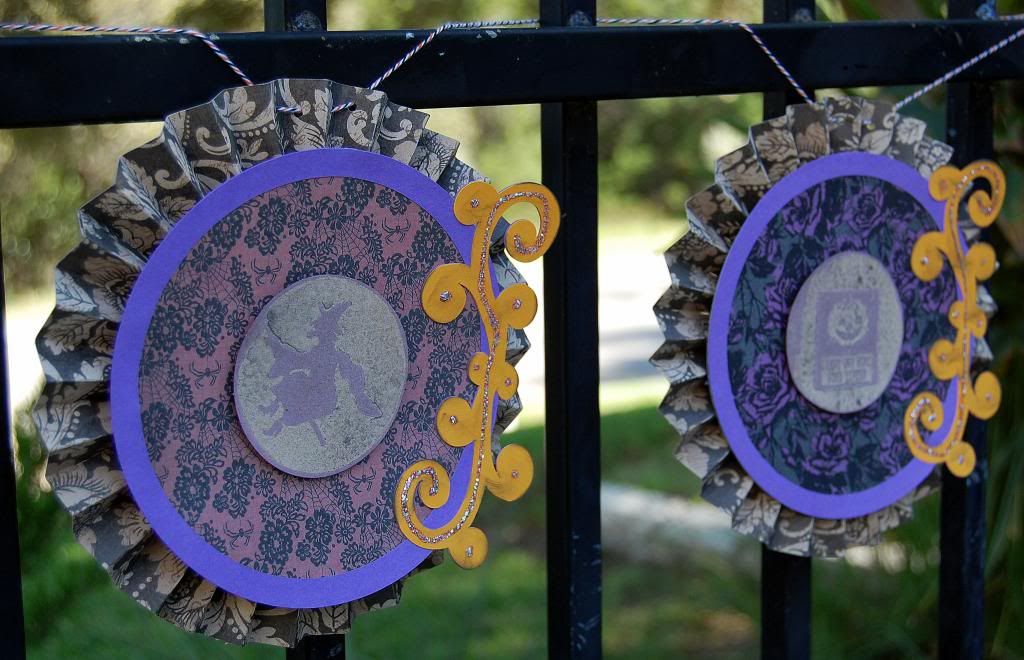
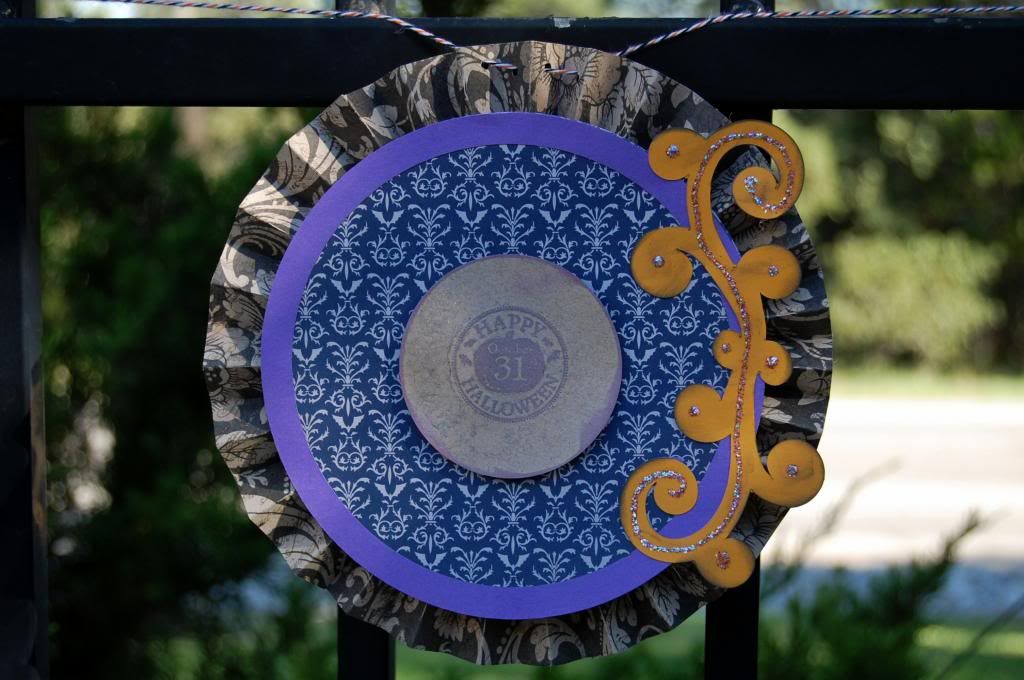
I signed on to make a Halloween banner for a teacher appreciation luncheon coming up so I turned to my SVG Attic's files. SVG Attic has a great set titled: Happy Haunt Halloween Party Kit and it has all your Halloween party needs wrapped up in the set from cupcake toppers to this adorable banner that I made.


As you can see, this banner is awesome as well as all the creations in this kit.

Check out the other Halloween files from SVG Attic. There are a lot to choose from.

Thursday, October 10, 2013

4x4 Pumpkins with Beth

Hello everyone!  This is Beth from Beth's Beauties with another project.  Fall is everywhere we look now.  The leaves are falling, the temperatures are cool and Halloween is right around the corner.  Today I have a project to share with you that has no paper on it whatsoever.  Crazy, right?  Don't worry, I was still able to use my Cricut on it, just not with paper :)  I have seen wooden pumpkins like these a lot.  In person, on the internet with several variations of course.  Here is my take on this popular fall decor.
 I cut 4x4's into three different heights and painted them with an outdoor orange paint.  I didn't know if I wanted them for indoors or outdoors, so I used elements that would be okay outside too.  Then I used a combination of brown, yellow and green paint to add the lines on to make them look more like pumpkins.  The dowel sticks that I used for the stems were a little over an inch in diameter and I used my hot glue gun to wrap them with twine.  I added leaves from a bunch of fake leaves I had in my stash along with some wired berries.  Large brown buttons and a bow of twine finished off each pumpkin.
 I made the sign out of a very thin board that just so happened to be in the garage calling my name for this project :)  The Happy Harvest was cut from tan, olive green, yellow and burgundy vinyl.  The cutting files for the words were from the Thankful Captions set by SVG Attic.  They were a perfect match for this project!

The embellishment on the sign is almost the same as on top of the pumpkins, except I added some brown, green, and yellow rumpled ribbon.  

Then I just couldn't help myself and had to see how they would look in Halloween mode...and they turned out cute that way too! 
 
I simply slipped the sign off of them and added black vinyl jack-o-lantern faces.  The faces are from the Pumpkin Patch SVG collection at SVG Attic.  The vinyl is removable and it will peel right off once Halloween is over.  I will put the sign back on and these will be gracing my house until Thanksgiving is over!

If you like the cuts on this project, head on over to SVG Attic and see what files they have!  Plus their files are 50% off for a limited time, so it is the perfect time to pick some up.  This is their newest kit, Winter Wishes.  Isn't it gorgeous?

To get this set free, add a minimum of $9.98 to your shopping cart, then add this new set to your cart and use the coupon code FREE on step two of the checkout process!

Also, if you make anything with SVG Attic files, we would love to have you share them on their Facebook page!

I hope you have a wonderfully crafty day!