Pages

Thursday, March 31, 2016

Introducing Two New T-Team Members!

Happy Thursday all!  We are SO excited to expand our SVG Attic Inspiration Team by two more members.  They were part of our Guest DT and we simply couldn't stand to have them part ways.  They are amazingly talented and complement our current I-Team ladies perfectly!  

Tracy

and here is her favorite SVG Attic project
Spider Webs and Magical Orbs

AND
Sonja

and here is her favorite SVG Attic project
Visiting Santa

Click on their names to go to their blogs and welcome them into the SVG Attic family!

They join the current team of

Beth

Cyndy

Angeline

Tanya

Lisa

I can't wait to see what inspiration the next six months hold!  Prepare to be amazed :)

Monday, March 28, 2016

3 Crosses

Happy Easter Monday!  Tanya from Crafting on Caffeine here today.  I have a project to show you that I just love how it came together. I used 2 files from SVG Attic to put this together.
For the crosses I made 2 of them a bit smaller then I did an outline of all of them to have the backing for them.


The inside of the paper I choose for the box is white so I took my eBrush and did the inside parts that would be seen. I also used my eBrush on the tag.


Thank you for stopping by! Have a great day!


Friday, March 25, 2016

Disney Autograph Book ~ with Cyndy G

I'm here today to share with you a autograph book I created to take on a magical Disney trip.  No, I'm not the one going but one lucky winner and their family from our school fundraiser will be going and they will have this cute little autograph book to collect some memories.

Disney word autograph book

I used the SDS Nested Alphabet.   This set can be used for so many different things!

Close up of D, in Disney

For more stability I glued the last page of the book to chip board.  I would also recommend doing that with the first page as well, I wish I had done that with mine.

Inside autograph book

Thank you for stopping by today to see my project.  To all my Christian friends, I hope you have a Happy Easter.  See you soon.

Do what inspires you,
Cyndy G.

Wednesday, March 23, 2016

Easter Bunny with Angeline

Happy mid-week!
Angeline here to share with you my Easter Bunny project I made using the JGW Happy Easter kit.

SVG Attic: Easter bunny with Angeline #svgattic #scrappyscrappy #jgwhappyeaster #easter #easterbunny #svg #cutfile #3dproject

I made the bunny box and he's holding a few carrots! :)

SVG Attic: Easter bunny with Angeline #svgattic #scrappyscrappy #jgwhappyeaster #easter #easterbunny #svg #cutfile #3dproject

I used the carrots from the bunny box and also the large Happy Easter basket, and tied them with some Trendy Twine.

SVG Attic: Easter bunny with Angeline #svgattic #scrappyscrappy #jgwhappyeaster #easter #easterbunny #svg #cutfile #3dproject

Wishing all of you a Happy Easter.

"For God so loved the world that he gave his one and only Son, that whoever believes in him shall not perish but have eternal life." John 3:16

Angeline Choo
blog // facebook // instagram // youtube

Monday, March 21, 2016

Easter Cross with Beth

Good morning!  Beth from Beth's Beauties with you today.  Since Easter is so close, I decided to make this Easter cross box.
 This file is from SVG Attic's Communion of Faith set, which is AMAZING!  This cross can be used as home decor or as a gift box.  It is sure to be a show stopper which ever way you use it!
 Here is an open view of the box.
I hope you have a wonderfully crafty day and a Blessed Easter!

Beth
Beth's Beauties

Friday, March 18, 2016

A Turquoise and Gold Easter with Lisa


Happy Friday! Lisa from In The Crafting Cave with you today. I'm sharing a few treat bags I created using the SDS Birthday Bash Balloon Treat Bag and Easter Elements

This is a picture of turquoise and gold treat bags with gold easter bunnies created by Lisa Mensing
Gold and Turquoise are so beautiful together. 
I've had this paper for some time now and decided it would be perfect for a more "sophisticated" take on Easter. 
This is a picture of turquoise and gold treat bags with gold easter bunnies created by Lisa Mensing
I love this bunny from the Easter Elements. 
You could use this little bag for so many things and it is so easy to assemble. I'm loving it. 

This is a picture of turquoise and gold treat bags with gold easter bunnies created by Lisa Mensing
Perfect for a small Easter gift. 
The gold paper is actually a poster board. You can find out all the details on my 
This is a picture of turquoise and gold treat bags with gold easter bunnies created by Lisa Mensing
Gold Poster Board

As always, thanks for joining me here on the 
SVG ATTIC BLOG. And, remember you can find 
these great treat bags and Easter Elements on the 

Wednesday, March 16, 2016

Lucky Leprechaun

Top O' Morning to you! Since tomorrow is St. Patrick's Day I thought I would bring you a lucky treat. Tanya from Crafting on Caffeine here today.  As soon as I saw this new kit I had to use it. This guy is from the PSD End of the Rainbow collection.


He is such a cute treat holder and what better then to have him holding gold bricks (Andes chocolate that is)


I embossed the bottom part of him.   I wanted to give it a bit of a difference then the hat. 


 Love love his green eyes. I used my eBrush for the orange hair.


Used the following also:
Doodlebug Designs- Cardstock and Happy Go-Lucky

Thanks for stopping by, we love reading all your comments. 

Sunday, March 13, 2016

Hop To It!

Well SVG Attic viewer, today is my last post for SVG Attic as a guest designer! It has been a pleasure being able to work with all of the great 3D designs. For my last posting, I bring you two bunny's with their favorite treat, carrots!

 I love this set because not only can the bunny's hold treats, so do the carrots! 
 Each carrot opens at the top for hidden surprises in the garden! 
 A boy and a girl! 

Materials Used: 

SDS Hop To Ithttp://www.svgattic.com/index.php?main_page=product_info&cPath=125_86&products_id=362
Craftwell eBrush
DCWV 'the Birthday Wishes stack'
DCWV 'Happy Day' stack
Scotch ATG gun
Tacky Glue
Silhouette Cameo

Friday, March 11, 2016

Ice Princess Castle ~ with Cyndy G

Happy Friday everyone!  Today I am sharing the beautiful JGW Renaissance Castle with a Frozen twist.  We do an auction fund raiser for our school and this year a new business My Pretty Princess Party graciously donated two party packages.  After seeing Jodi's version of this castle I decided that I would make a Princess centerpiece to go with the auction package.

3d paper Frozen castle

They asked that I do the castle in a Frozen theme.  I love how it turned out.  I replace the hearts with snowflakes and added some Jolee's snowflake stickers.

3d paper frozen castle

There is so much attention to detail with this project.  

3d paper frozen castle

This is a very sizable castle and it is going to make a spectacular centerpiece.  
Hope you have a wonderfully crafty weekend.

Do what inspires you,
Cyndy G.

Wednesday, March 9, 2016

Easter Bonnet with Beth

Good morning!  Beth from Beth's Beauties here with you today, and  I am sharing a fun Spring hat that I created.  
I started by making the hat from Gaby's Garden.   Then around the brim, I added rose leaves from JGW Motherly Moments and swirls from SDS Flourished Spring.  I added roses in two different sizes from the Be Mine set on both sides of the hat.
Here is a view of the beautiful bow, which is part of the Gaby's Garden set.
On the right side, I added a butterfly, which was cut from the Welcome Spring set.  
The small dark coral flowers are from the JGW Tiki Luau kit and made the perfect finishing touch for the hat!  All the papers I used on this hat are from DCWV'S Dear Jane stack.
I hope you have a wonderfully crafty day!
Beth
Beth's Beauties

Monday, March 7, 2016

Quick and Easy Easter Centerpiece with Lisa


Welcome, everyone! Lisa from In The Crafting Cave with you today. Sharing a quick and easy 

This is a picture of a vase filled with green paper grass, plastic pastel Easter eggs, and carrot treat boxes.

If you're in a hurry these carrots are a must. You could use three of these 
lined down the center of your table and/or buffet for Easter. And the carrots
are treat boxes so you're getting two uses out of one centerpiece. Who doesn't love that?


This is a picture of a vase filled with green paper grass, plastic pastel Easter eggs, and carrot treat boxes.
To make these I simply used orange and green 12 x 12 cardstock, 6 x 6 patterned 
papers, Trendy Twine - Limeade. Seriously, it couldn't be any easier. 

This is a picture of a vase filled with green paper grass, plastic pastel Easter eggs, and carrot treat boxes.

TIP:
I keep several glass vases in my house, if I need them I have them and I keep them out year round as decor on shelves instead of finding somewhere to store them.  Leave them empty or use them for ribbons, small picture frames, I've even showcased beautiful cards I've received from crafty friends in them. The possibilities are endless. 

You can find on the details on my blog, In The Crafting Cave with Lisa.

This is a picture of a vase filled with green paper grass, plastic pastel Easter eggs, and carrot treat boxes.
A trip to the dollar store for grass and eggs and you have a very inexpensive 
Easter decoration. 


As always, thanks for joining me here on the 
SVG ATTIC BLOG. And, remember you can find 
these great carrots and more at the 

Friday, March 4, 2016

Look I Made A Hat, Again with Lisa


Hi, everyone! Lisa from In The Crafting Cave with you today. I'm sharing a great way to use the JGW Mourner's Hat from the JGW Raven Quest Collection for Spring/Summer. I love this hat because you can use it for anything. Seriously, 
I've used it for Spring, Summer, and Christmas. Maybe I should use it for Halloween sometime. 
This time, I made it for my Mom, she loves the hat too. She requested it be yellow with gray and go from Easter/Spring to Summer. 

  
This is a picture of JGW Raven's Quest Mourner's Hat made for Spring/Summer with yellows and grays.
Summer

So I used yellow cardstock to create the hat and a warm gray patterned paper for 
trim, bow, and feather. The flowers, leaves, and moss are from my craft stash.
The Easter Eggs are from the Easter Elements Collections.

This is a picture of JGW Raven's Quest Mourner's Hat made for Spring/Summer with yellows and grays.
Easter/Spring


TIP
Wooden Skewers are a must in my craft room. You can pick them 
up at your local big box stores or grocery stores. They are inexpensive and can be used for a multitude of things. I did a lot of hot gluing on this hat and the skewers helped me tuck and hold pieces saving my fingers. Also, I cut one into thirds and glued to the back of the Easter Eggs to hold them in place. Once Easter is over the eggs can be easily removed. 


You can find all the details on my blog, In The Crafting Cave with Lisa.
This is a picture of JGW Raven's Quest Mourner's Hat made for Spring/Summer with yellows and grays.
The eggs are removable.

As always, thanks for stopping by and have an amazing weekend! 


Wednesday, March 2, 2016

Birds and the Trees

One of my favorite trees in the yard is starting to get little buds on it! Since the cherry blossom tree only blooms for a brief period, I decided to make a model of it!

To start with, I used the 3D Bare-Branched Tree.

I wanted the tree to have wood grain on it. I printed a wood grain pattern front and back on brown paper before I cut out each shape. Then I cut out flowers and leaves on white cardstock. Each flower and leaf is painted with color from my eBrush.

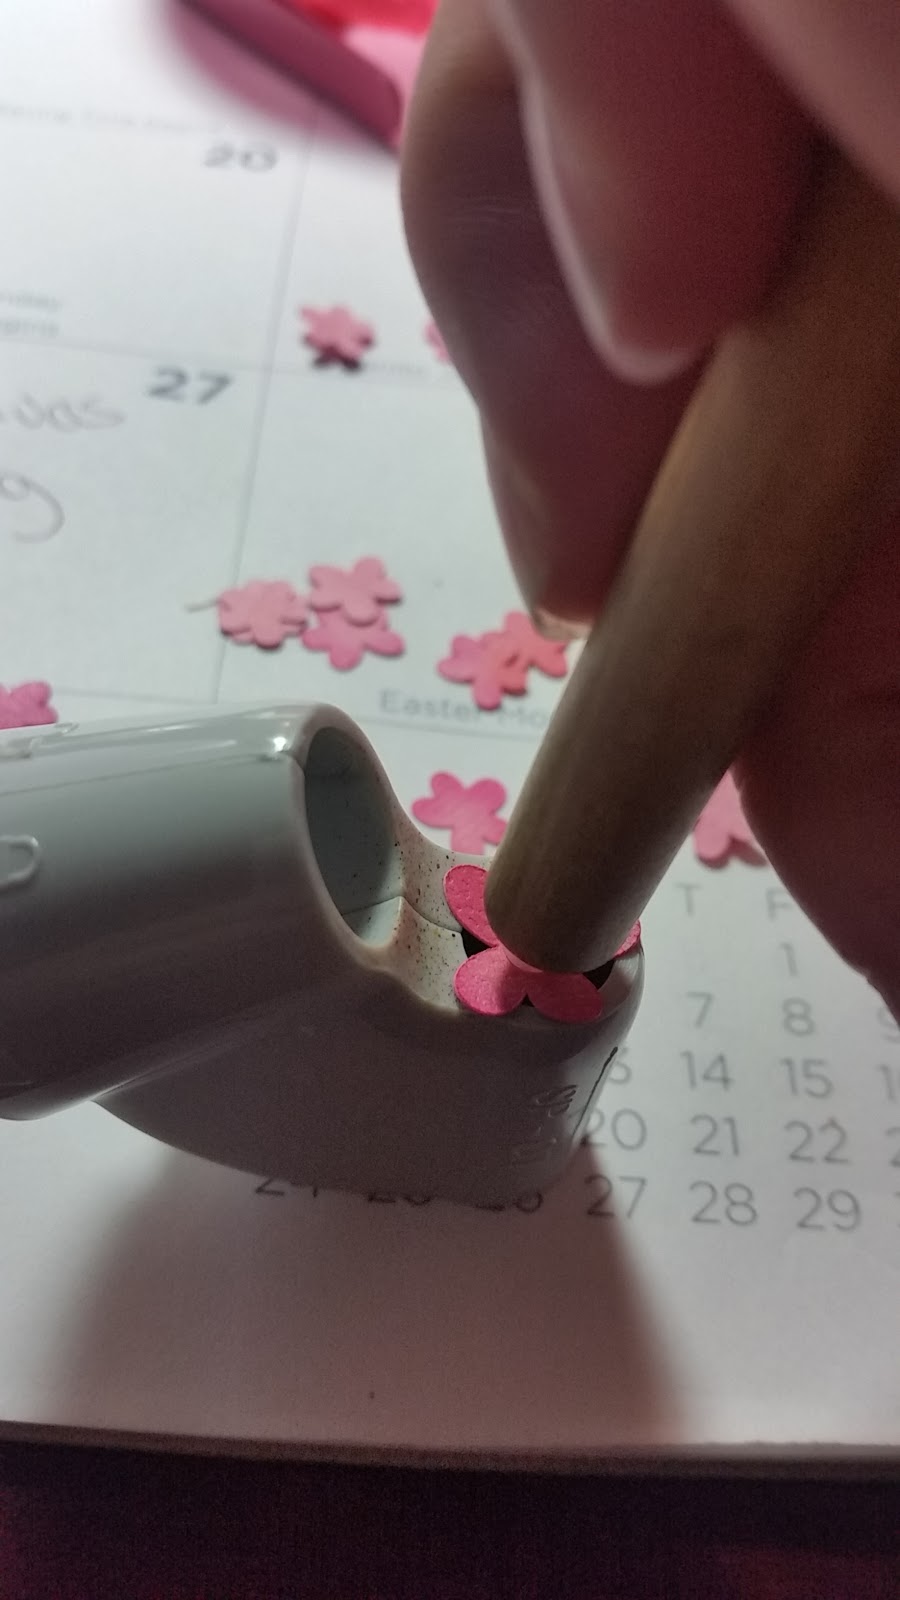
Each flower/leaf was then hand curled and a pearl attached to the center. To curl the flower petals and speed up the time, I simply put them in the tip of an eBrush adapter and pushed it through with the bottom of a quilling tool.


The only downside to doing it this way was the more the glue dried on the pearls, many of them popped off so I had to reattach them again!

After all the flowers were complete it was time to add the leaves. I decided to do the leaves now so I wouldn't have to try and attach them to a 3D surface!

Next I made a birdhouse (not pictured yet) from the Home Tweet Home set.

And what is a birdhouse without a bird to occupy it?! So I used the 3D Birdie Box from the same set (Home Tweet Home). However, because I was working with a tree, I wanted the house and the birds to be somewhat to scale.

Which means reducing the sizes of the files considerably! I started the bird's off by cutting them out of white cardstock. Then I was able to paint them the color of my choice with the eBrush.


Once assembled, it was no larger than the dime.

I then cut out the grass from SnapDragon Snippets 'Grass and Borders' file and their 'Flourished Flower' set.

Once I put it all together, I think it flowed nicely together to capture my favorite cherry blossom tree!


I sure hope we are well on our way to spring!

Project inspiration found at: http://sunnydaycrafting.blogspot.com/2016/02/more-photo-inspiration-added-to-our-1st.html

Materials Used:
Craftwell eBrush for coloring detail
Sharpies for eBrush
Silhouette Cameo for designing and cutting
White cardstock
Brown cardstock
Scotch Advanced Tape Glider for adhesive
Original Tacky Glue

SVG Attic/SnapDragon Snippet Files:
https://www.silhouettedesignstore.com/view-shape/13708 
http://www.svgattic.com/index.php?main_page=product_info&cPath=125_86&products_id=366
https://www.silhouettedesignstore.com/view-shape/56521
https://www.silhouettedesignstore.com/view-shape/28024