Pages

Showing posts with label Versamark ink. Show all posts

Wednesday, April 4, 2018

You Brighten My Day


FTC disclaimer: I received some of these products for free but was not compensated for writing this post. To view my complete disclaimer, click here. 

Hello all! I-team member Sonja here with my latest card. Let's talk about challenges. I love to be challenged when it comes to crafting. One way to do this is to take a file and make it into something it wasn't intended for. 

This SnapDragon Snippets hot air balloon is originally a 15" tall centerpiece. For some reason though, I decided I should make it the centerpiece to a 5" x 7" x-fold card so I shrunk it down to about 5" tall from flag tip to bottom. Why? Well why not should be the question. 

To start with, I needed to design the card base. To do this was 5 easy steps. 
  1. Create a 5" x 7" rectangle 
  2. Divide it in half with a score line
  3. Center the shape of your choice and erase any extra score line within the shape
  4. Create an 'internal offset' size of your choice for decorative paper
  5. Cut out four bases and four accents


After I got the base cut out, I cut all the balloon pieces out and got to assembling.
(Note, I built the balloon around a strand of fishing wire. The reason is at the end of this post)
 Tweezers were very helpful for the tiny details on this!
For the clouds, I ran each cloud and some foam through my Xyron Creative Station Lite® for an even distribution of adhesive. I used my Teresa Collins Mega Runner by Xyron® for the card base and accent pieces.

Final Project: 
At the last minute I decided to add in a few suitcases from SnapDragon Snippets for details.
No matter what angle you look at the balloon, it is always the centerpiece of this card.


Fishing wire reasoning

Materials Used: 


FTC disclaimer: I received some of these products for free but was not compensated for writing this post. To view my complete disclaimer, click here.

Monday, March 5, 2018

Luck & Love for St. Patrick's Day

FTC disclaimer: I received some of these products for free but was not compensated for writing this post. To view my complete disclaimer, click here. 

St. Patrick's Day is among us! Hello all, I-team member Sonja here with my latest post. Looking at the calendar, I decided to put some of my St. Patrick's day stamps to use. I received a bunch for free a few years back and this is my first time pulling one out. I know shame on me! 

After picking out the two files I wanted to do from SnapDragon Snippets website, I decided the perfect paper to go with these files would be some bright colors from Bazzill Papers. 

 For the card, I used (1) Juicy Pear, (1) Easter Grass, and (1) Flintstone
After cutting the shoe shape out with the Silhouette Cameo 3, I grabbed my Craftwell eBrush to float in some color.

Next I wanted some texture on my shoe so I ran it through my Sizzix Big Shot with a Darice swirl embossing folder.


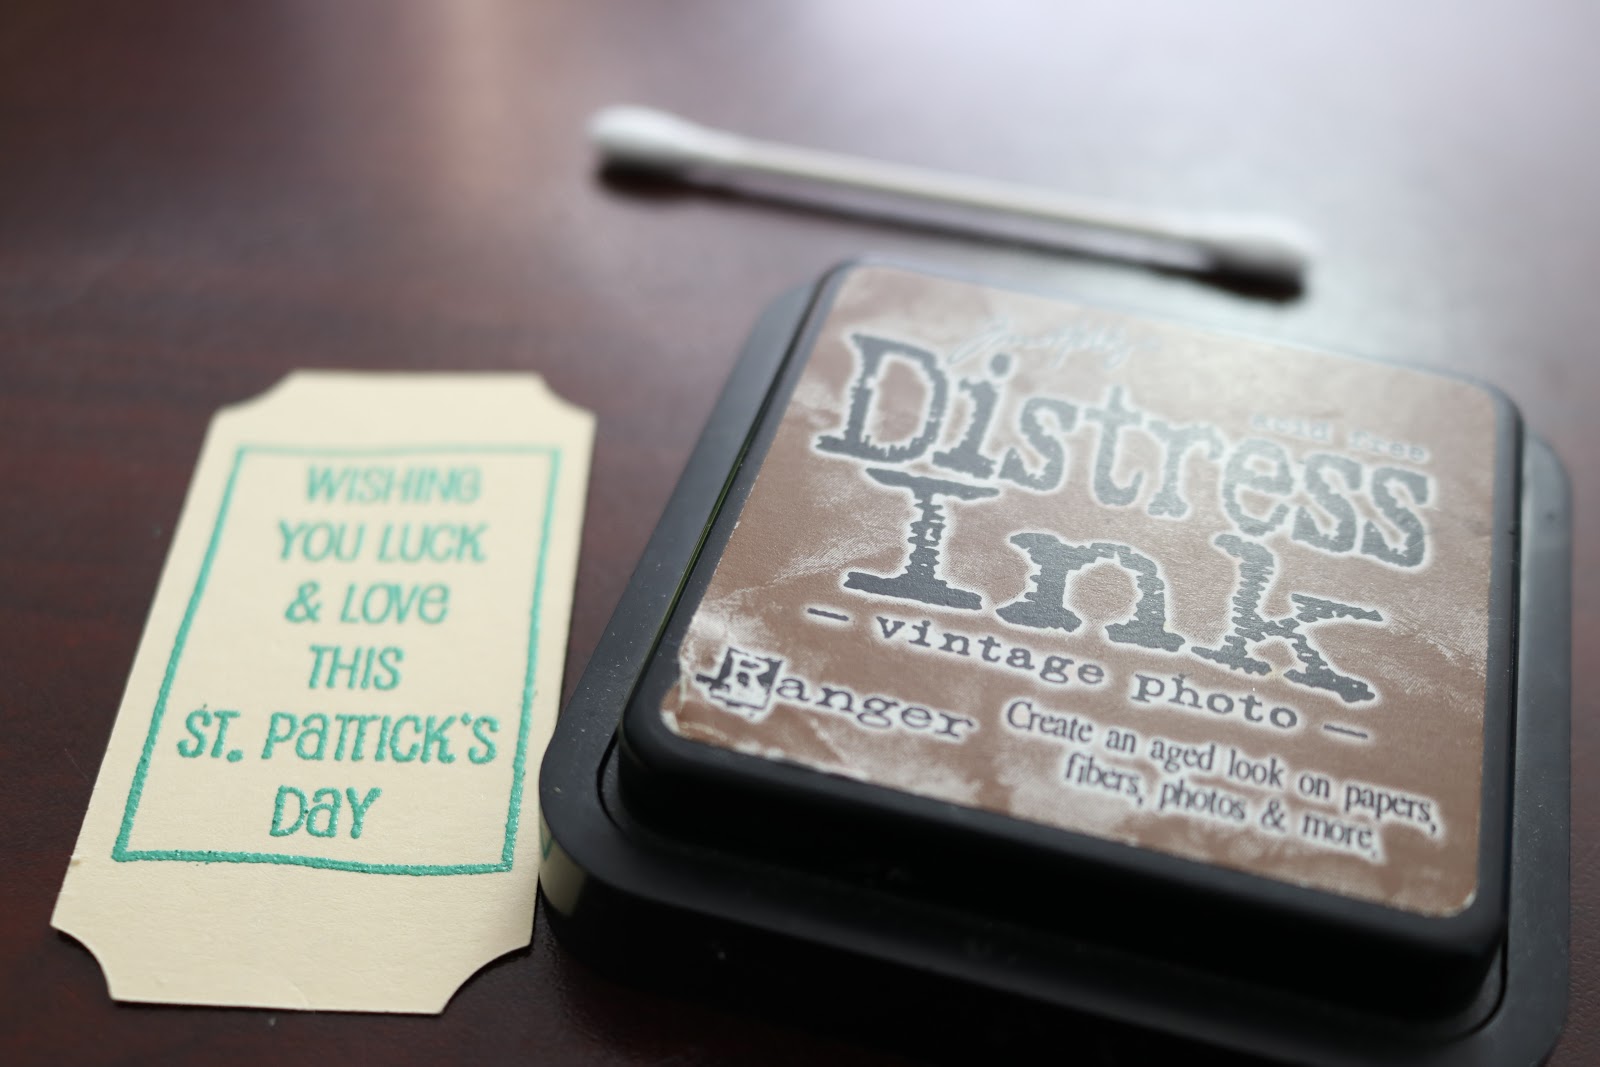
For the tag, I changed out the sentiment that comes with the file so that I could use my stamp.
Below the photo shows the difference with the embossing powder once heat is started to be applied to the stamp.
 I decided to distress the edges of the tag just to break up the blank space on it.
 Final Projects:

  At the last minute, I decided this card needed a lucky treat bag to go with it!


Materials Used: 

  • Bazzill Papers
    • (2) Juicy Pear
    • (2) Easter Grass
    • (1) Flintstone
  • DCWV Glitzy Glitter
    • (1) Gold
  • SnapDragon Snippets
  • Silhouette Cameo 3
  • Silhouette Studio-Designer Edition
  • Sizzix Big Shot
  • Darice
    • Embossing folder
    • Heat Gun
  • Craftwell eBrush
  • Sharpie Marker
  • VersaMark Ink
  • Tim Holtz Vintage Photo ink 
FTC disclaimer: I received some of these products for free but was not compensated for writing this post. To view my complete disclaimer, click here. 

Wednesday, February 7, 2018

Mailing some Love

Hello all. I-team member Sonja here with an extra special SnapDragon Snippets Valentine's mailbox to share with you!
I wanted my mailbox to be on a stand so I grabbed the stand from the Angel Nativity set and built the stand.
Using the flowers and vine from the Flowers Vine tag set, I was able to wrap the stand and add some flowers to the box and stand to wrap it all together.
 The flag moves up and down.
 The back of the mailbox is just as detailed.


Materials Used: 

  • DCWVinc. Copper Luxury 12x12 double sided stack
  • SnapDragon Snippets files
    • 3D Mailbox
    • Nativity Angel Stand
    • 3d Flowers Vine tag
  • Recollections Embossing powder
  • Versamark Ink
  • Darice Heating gun
  • Aleene's Original Glue
  • Recollections Heart Brads
  • Silhouette Cameo 3
  • Silhouette Studios-Designer Edition
  • Canon 80D