Pages

Showing posts with label Craftwell eBrush. Show all posts

Wednesday, June 27, 2018

4th of July Cowboy Style

Hello all. Sonja with Sugar Bean Cards here to bring you a cowboy style 4th of July centerpiece.

I started with the Cowboy 3D Boot Panels Fringe file.

I used the Craftwell eBrush to highlight the edges of the cowboy boot. For the top half of the boot, I used Paper House's 'Let Freedom Ring' paper.
 Next I decided the best thing to fill the top was flowers
 I didn't spend too much time with the flowers, but the shot glasses helped shape them so I could move onto other flowers.
Finished Project: 
 Back view


Have a fun and safe 4th! 

Materials Used: 

  • Paper
    • Bazzill
      • Cherry Splash
      • Peanut Fudge
      • Juicy Pear
      • Easter Grass
      • Lime Crush
      • Milkshake
    • Paper House
      • Let Freedom Ring
  • Die Cut Machine
    • Silhouette Cameo 3
    • Silhouette Studio-Designer Edition
  • SVG Attic/SnapDragon Snippets Files
  • Adhesive
    • Aleene's Original Tacky Glue
    • Extras
      • Craftwell eBrush
      • Sharpie Markers
    FTC disclaimer: I received some of these products for free but was not compensated for writing this post. To view my complete disclaimer, click here.

    Monday, May 14, 2018

    Memorial Day 2018

    Hello all. Sonja from Sugar Bean Cards here to share a little something with you. Monday, May 28th, 2018 is Memorial Day. I always try to do something to show my respect for those who have fought for our freedom.

    This year I wanted to do something with the new 3D Lantern file, the Combat 3D Boot file, and of course the American flags from the 3D Flag Pair on Poles file.

    The combat boots are downsized to about 3" tall by 1 1/2" wide. Which if you've ever made the boot file, is a considerable downsize!
    Next I researched what flower represents Memorial Day. As it turns out, the red poppy is the significant flower.
    I cut the poppy centers and greenery for the lantern from Bazzill's Easter Grass cardstock.
    Then I grabbed some sharpie markers and my Craftwell eBrush to bring in different colors for the centers.
    Taking the Netlab quilling tool, I was able to quickly roll each center
    Then apply to each flower with a dot of hot glue
    Next I colored the greenery with greens and brown sharpie markers
    One of my favorite things about the eBrush is that the project looks super messy until you remove the excess cardstock from around the cut

    Next I cut out all the white and blue flowers. I shaped each petal with the help of McGill flower roller tools.
     Now it's time to assemble
    The lantern could've been done at this point if I wanted to add the top portion, but I really wanted those boots on here
     So I continued on
    Final Project:
    There is a candle insert with this file that allows you to pop in a battery operated tealight for full functionality.
    The gates and lantern were adhered using both the Xyron Mega Runner®  and
    Teresa Collins Mega Runner by Xyron® so I wouldn't have to wait for glue to dry.
    For the top of the flags, I applied two of Tim Holtz Hitch Fasteners to bring a big of detail.


    Materials Used: 

    • Paper
      • Bazzil 
        • Easter Grass
        • Blackberry Swirl
        • Cherry Splash
        • Coconut Swirl
        • Peanut Fudge
      • Craft cardstock
      • Paper House
        • Let Freedom Ring 
    • SnapDragon/SVG Attic Files
    • Die Cut Machine
      • Silhouette Cameo 3
      • Silhouette Studio-Designer Edition
      • Silhouette Design Store
    FTC disclaimer: I received some of these products for free but was not compensated for writing this post. To view my complete disclaimer, click here.


    Wednesday, April 18, 2018

    Castle Tower turned into...


    FTC disclaimer: I received some of these products for free but was not compensated for writing this post. To view my complete disclaimer, click here.

    Hello all. I-team member Sonja here with my newest inspiration. While thinking about my next project, a certain vision popped into my mind. I got on SnapDragon Snippets website to see if I could find what I wanted to do. After not finding it, I remembered that I have had the Castle Tower 3D Box file in my library for a year and haven't used it.
    Original file 

    With a few modifications to the top of it, I was able to make my vision happen. It took me about 2 full days to design and execute it all. Mainly because I kept changing my mind about the roof.

    Tower portion: 


    Rot Iron Fence: 
    Just a few skinny rectangles, circles, and a pentagon for the fence topper was all it took to make the fence. I welded six fences to a hexagon with a smaller hexagon in the middle to accommodate the top tower room to allow a light in it.
    Original Top Piece

    Modified piece
    Roof:
    Keeping with the hexagon theme of the tower, I decided to do a hexagon shaped roof. I couldn't find any in my library so I set out to weld a six triangles together and play around with it until I got what I envisioned. 
     Final roof shape after welding and shaping
    For the tower portion itself, I wanted to float in some slight color. The best way for this was with a gray sharpie and the Craftwell eBrush. I used Bazzill cardstock for this project because it's a really sturdy product and I didn't have to double up on walls or anything to hold its shape. 

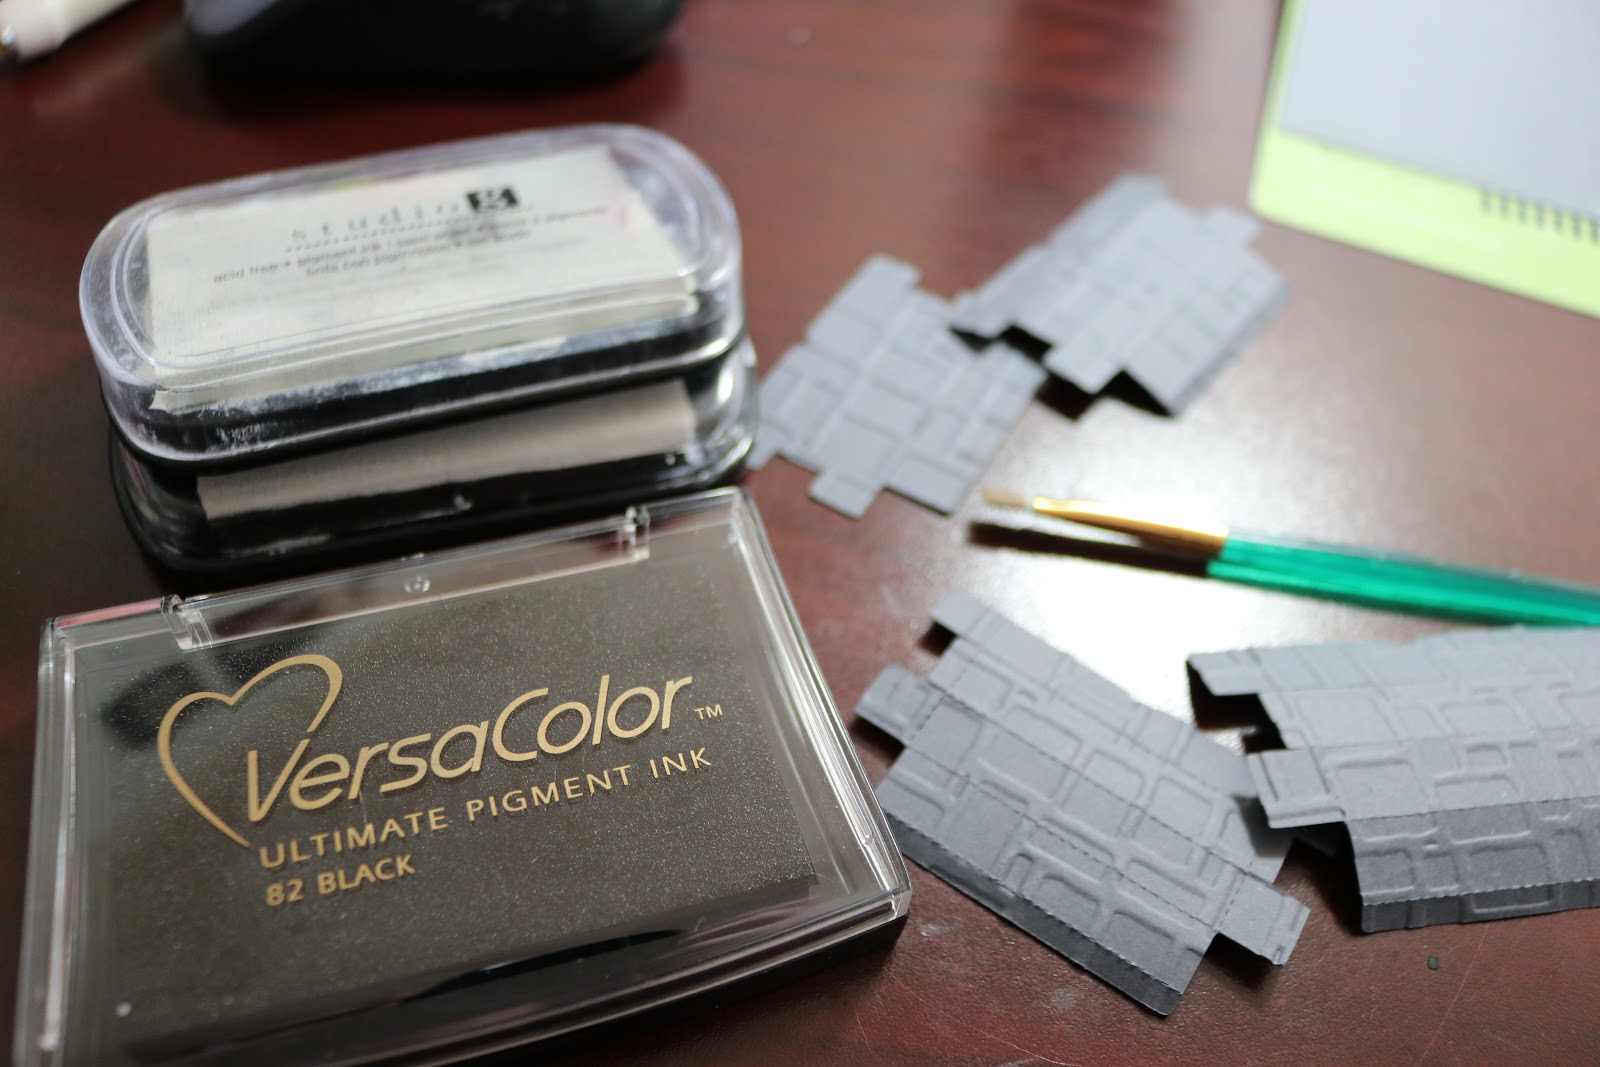
    After floating in a bit of color detail, I ran the tower walls, base, and steps I created through my Sizzix Big Shot with a Darice brick embossing folder

     Next, for the tower top I wanted to have the clear plastic just for extra detail. The best way I have found to adhere the plastic to paper is by using my Xyron Creative Station Lite® . 

    For the steps, I simply took some rectangle boxes I had in my library, downsized them to what I needed, ran them through my Big Shot for the embossing, and dry brushed some ink on them to make the steps look aged.

    Final Product: 
     Turn the light on...

    These little lanterns are from the SVG Winter Wishes set. The lantern is much much larger than these little tykes. They are about the size of the tip of a pencil on this lighthouse.


    I intentionally did not adhere the top to the tower so I had easy access to the tea light.


    Products Used: 
    FTC disclaimer: I received some of these products for free but was not compensated for writing this post. To view my complete disclaimer, click here.

    Wednesday, December 27, 2017

    Poinsettia Set

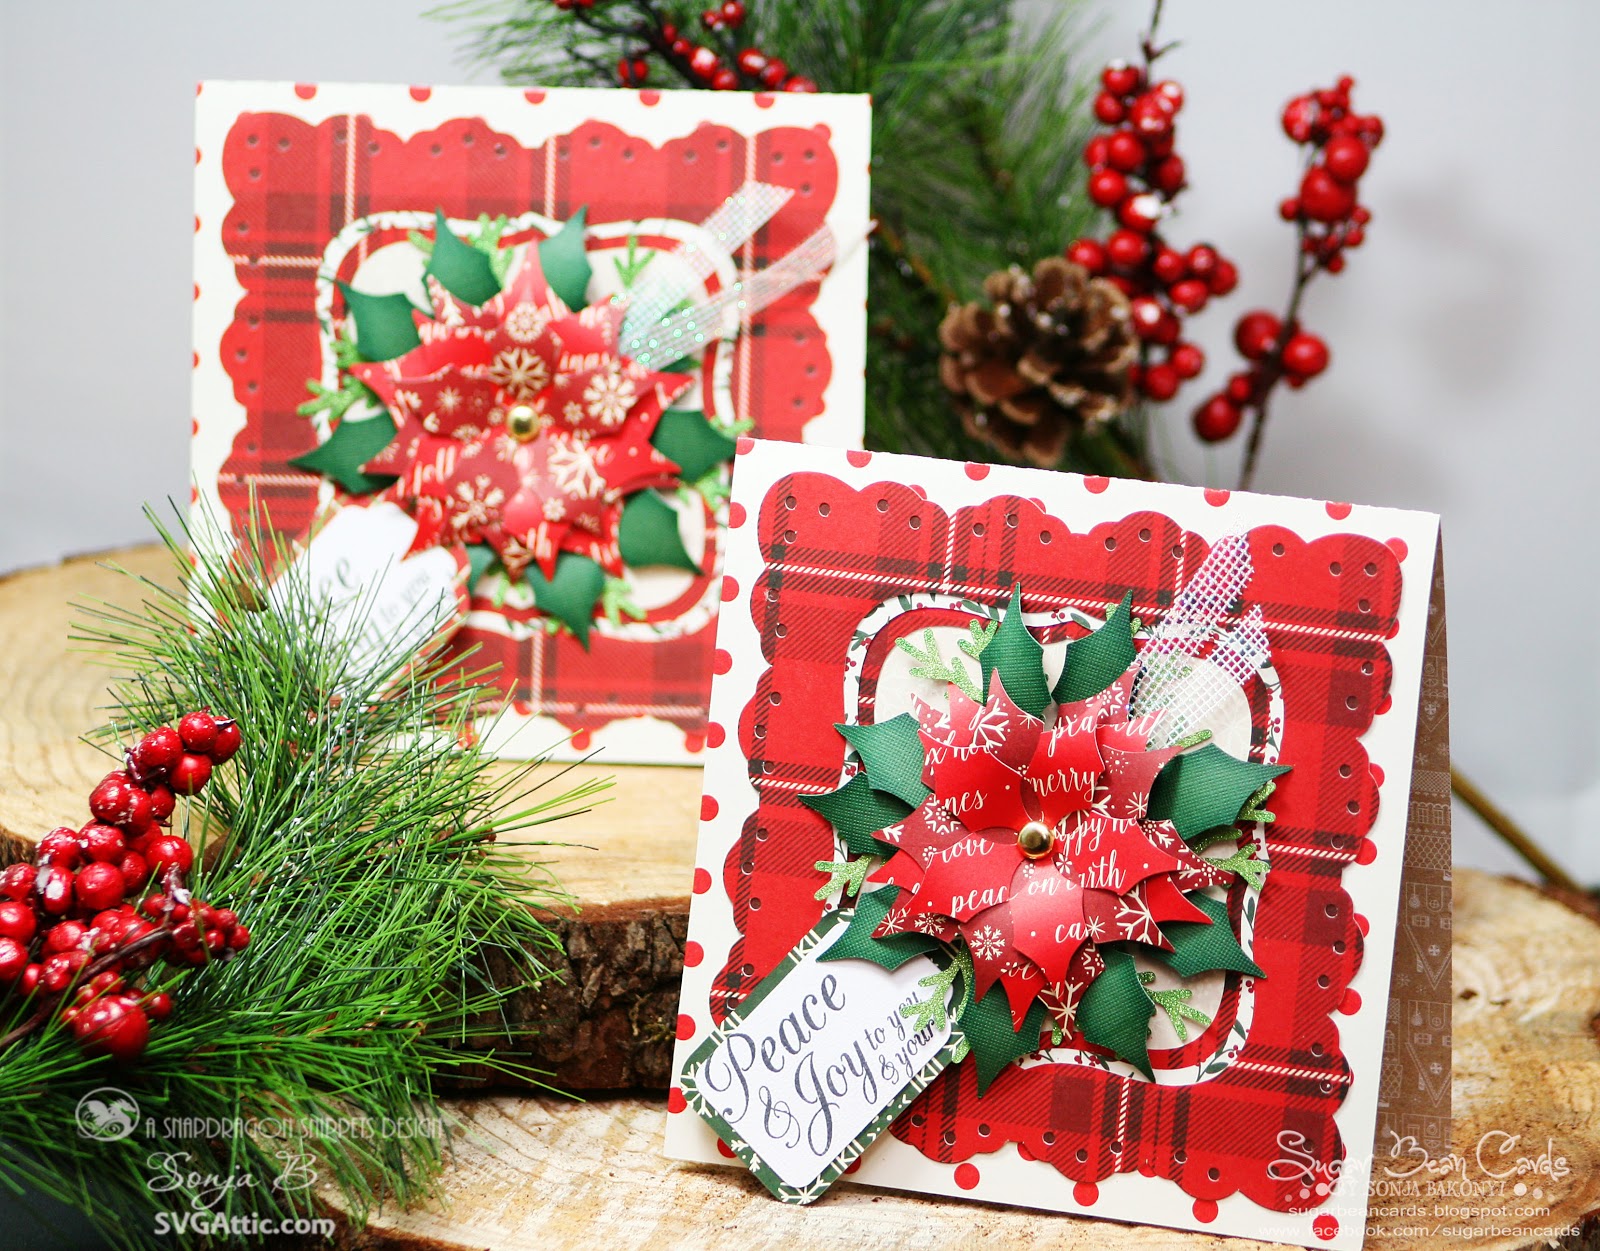
    Hello all. I-team member Sonja here with my version of two sets of poinsettia cards from the JGW Poinsettia Passion files.


    The two cards I picked from this set were already such great files that I did very minimal additions to it. Other than adding sentimental tags, everything else remains as is. 


    By exchanging a few layers of colored flower pedals, I was able to make the same flowers, yet have them be different on each card.
    The second set of cards were just as favorable as the first set. Hard to pick a favorite.


      I love the inside of these cards!

    Materials Used: 
    DCWV Very Merry Stack
    Christmas Flip/side stack

    Silhouette Cameo 3
    Silhouette Studio~Designers edition
    Aleene's Original Tacky Glue
    Craftwell eBrush
    Sharpie markers